Pajero io A/C bearing pump DIY
Going in dirt, mud, muddy pool of water and normal wear can make the air conditioning bearing noisy. To replace the bearing I have made a couple of puller to able me to do the work while the A/C unit is still on the car. I wanted to make it practical, cheap and reliable. Yes it is easier to remove the complete A/C pump and do the work on the bench but the cost of new gas (over $200) make these puller worth doing.
EDIT, you can make these tool or you can rent them from me. $55 freight included in Australia with tracking, + $100 deposit fully refunded when the tools comes back. Freight with tracking is about $15.
I have cut a thick plate of metal, drill 3 holes to match the one on the front plate of the A/C unit
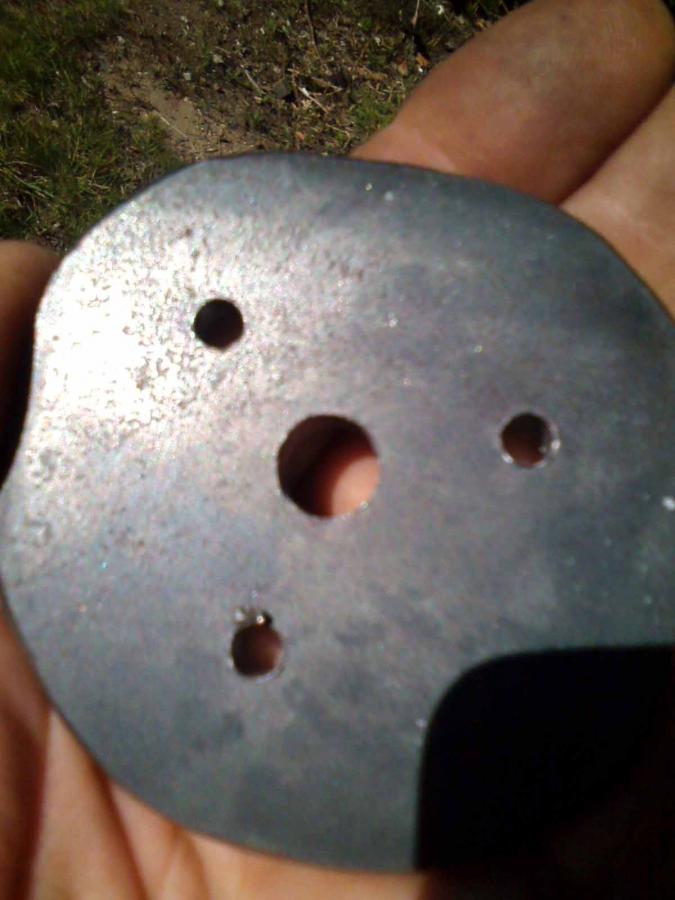
I have made a bigger hole in the center to fit a grinded nut in the middle
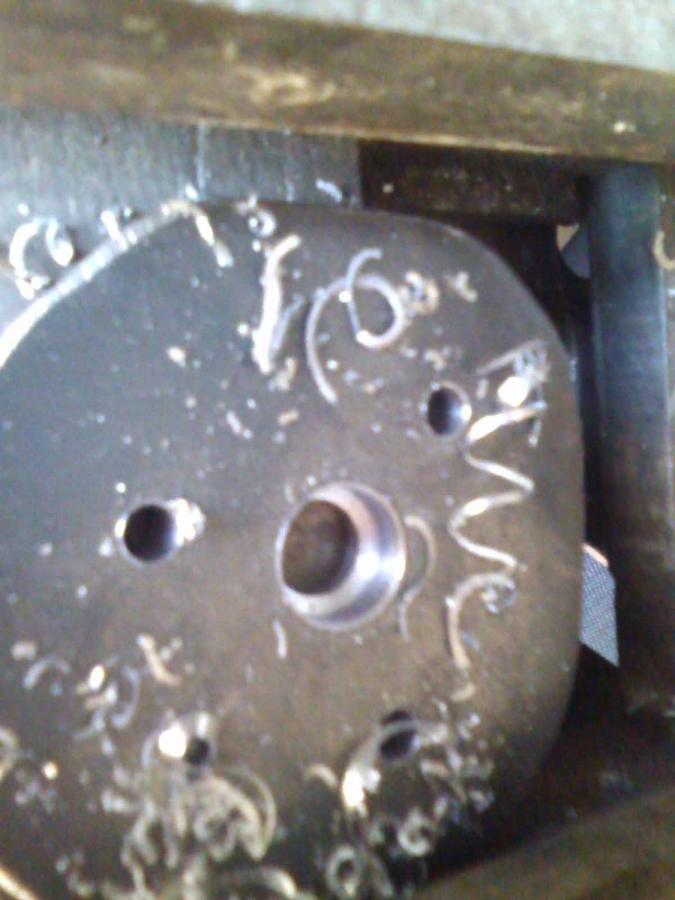
Nut fitted

Nut welded
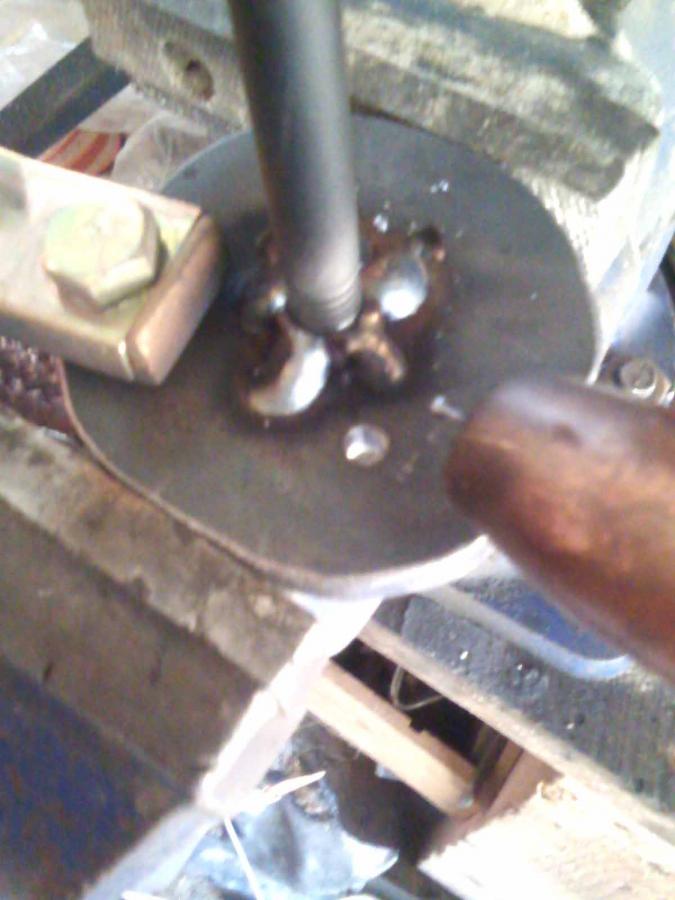
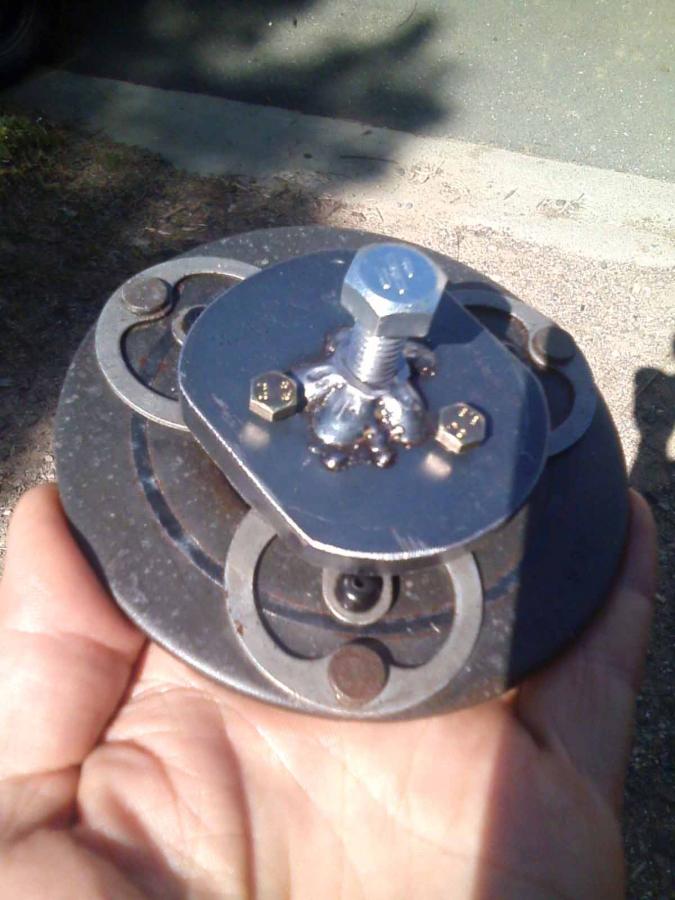
Finished tool
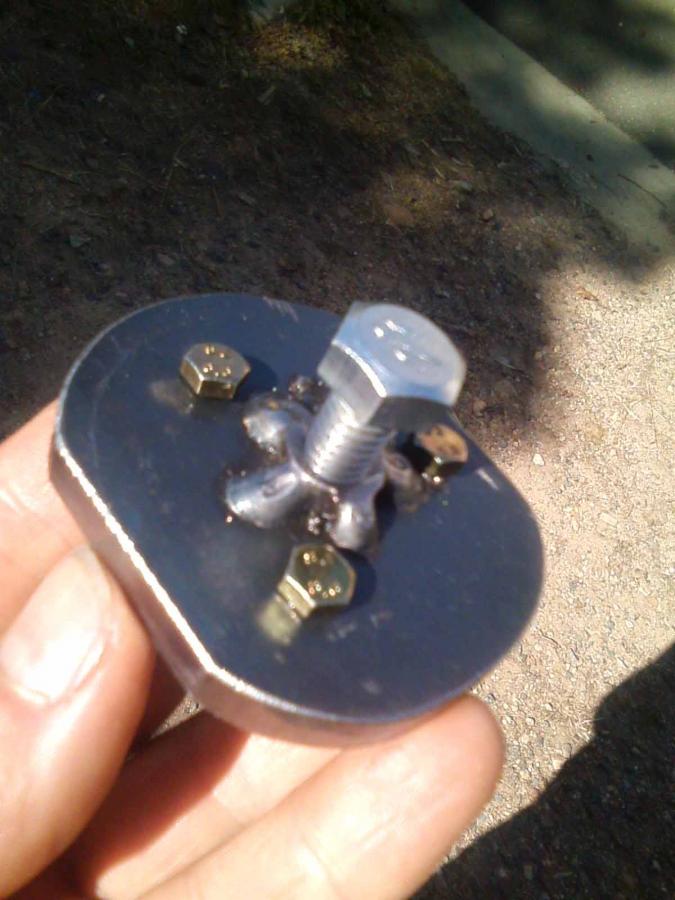
Tool on a spare front A/C plate
This is the second puller to remove the pulley, finished, done with the same metal plate.
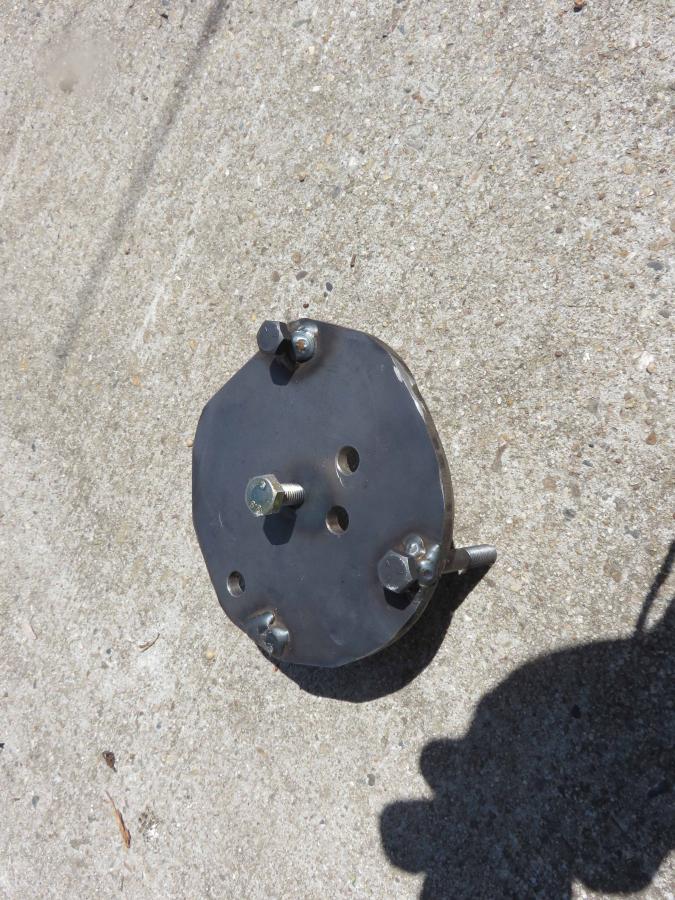
I welded the outside bolt to fit perfectly around the pulley, no gap.
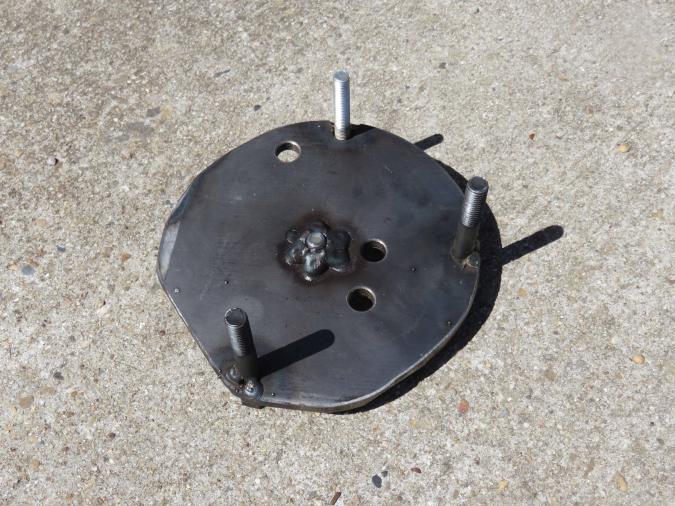
Now, at this satge it was not tested on the car. Here we go !!
First I removed the center 10 mm nut. As the all lot was moving around I put a long screw driver to hold it in place
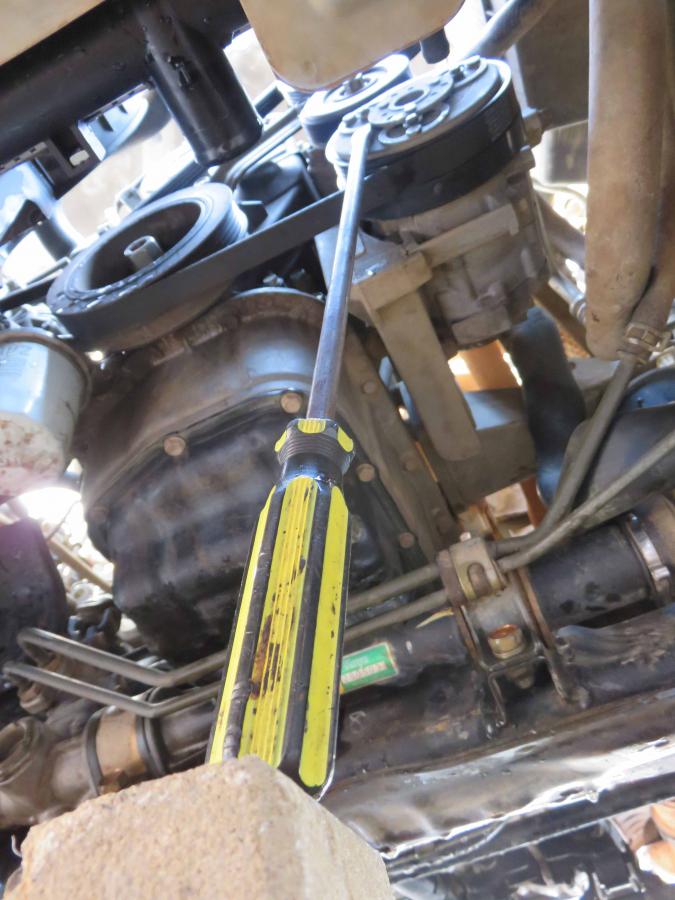
Installing the my new tool. Before I fitted a longer 10 mm bolt, for the center bolt of my puller to push on it. Do not use the original one as the more thread you have on the better, you do not want to damage the thread.

Tighting the center bolt and holding the tool at the same time.
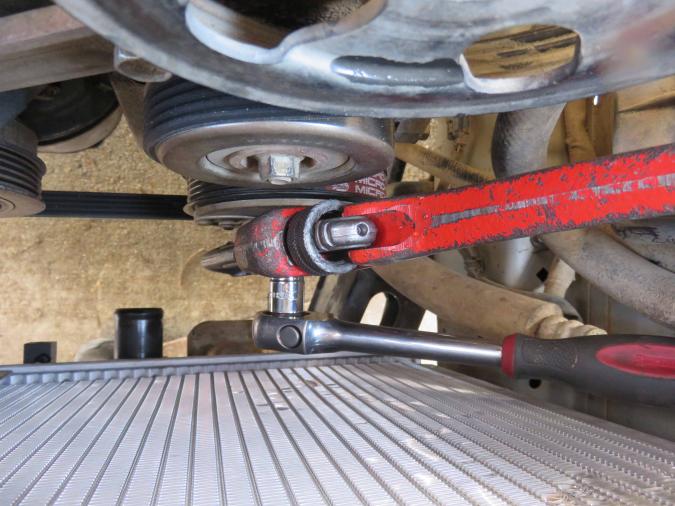
Plate out :) they are washer spacer in it, do not loose them, check if they are not on the end of the A/C unit.

Removing the circlips
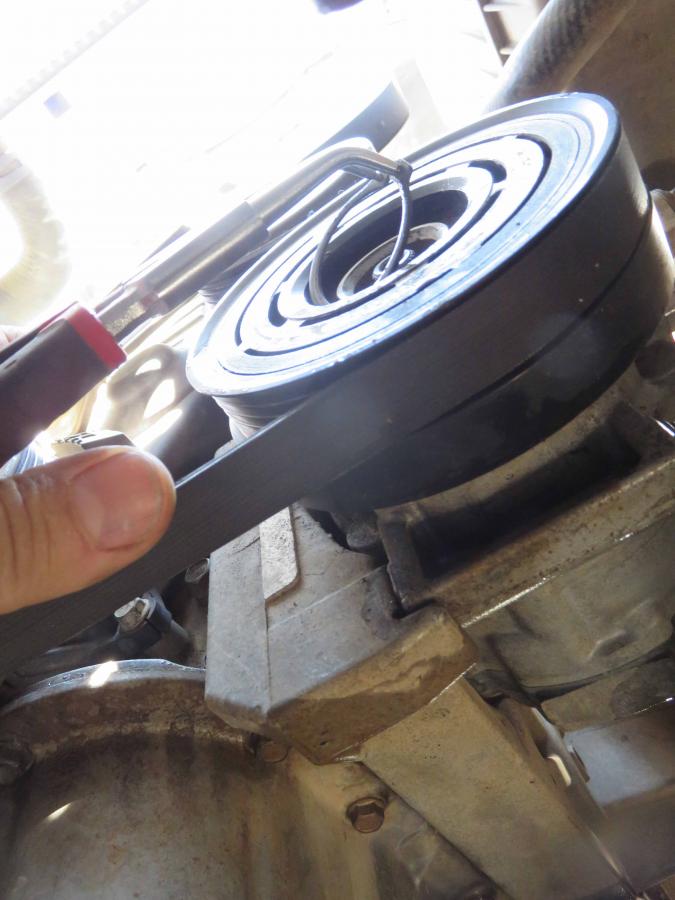
The circlips

Installing the other puller
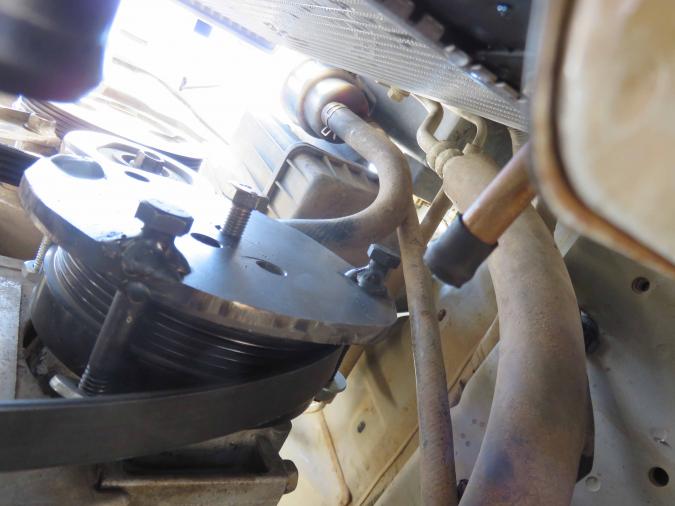
Coming out:)

Pulley out
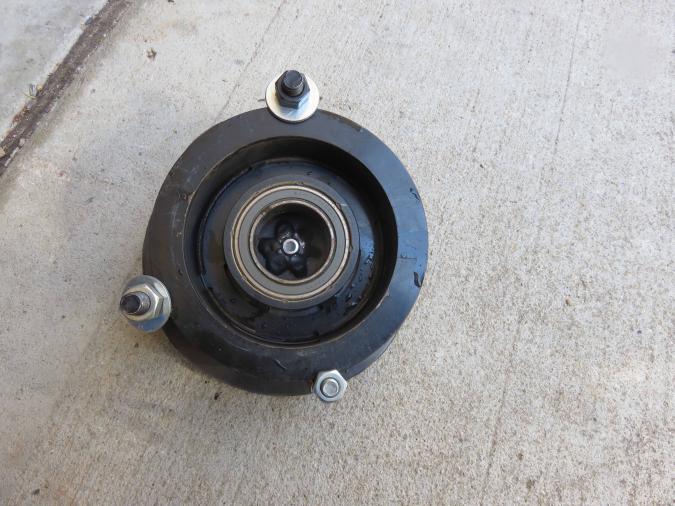
Removing the bearing, big socket on top of the bearing, and wack...don't be shy ! The first 5 mm can come out while the pully is on a flat piece of timber. I have a press at work but it is not needed here.
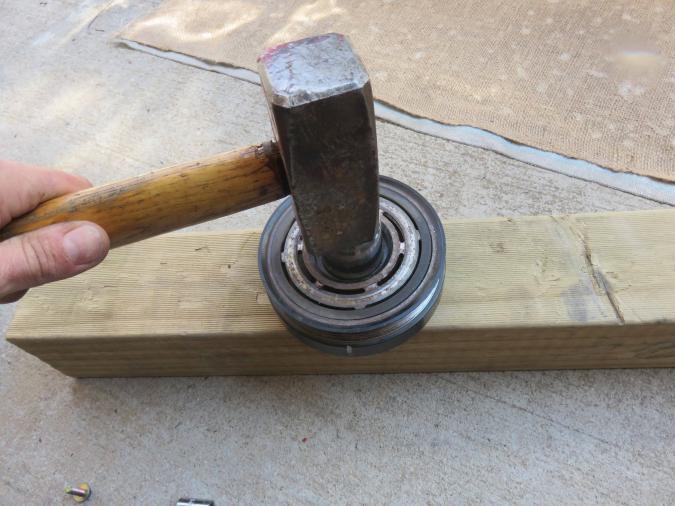
Finishing to remove the bearing
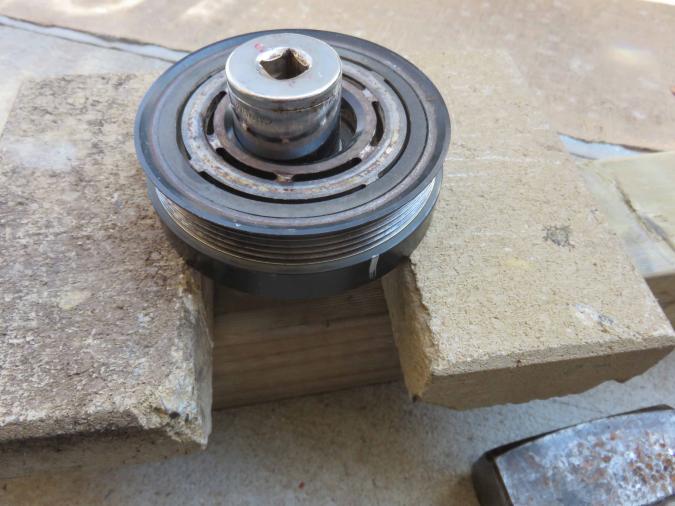
Bearing out
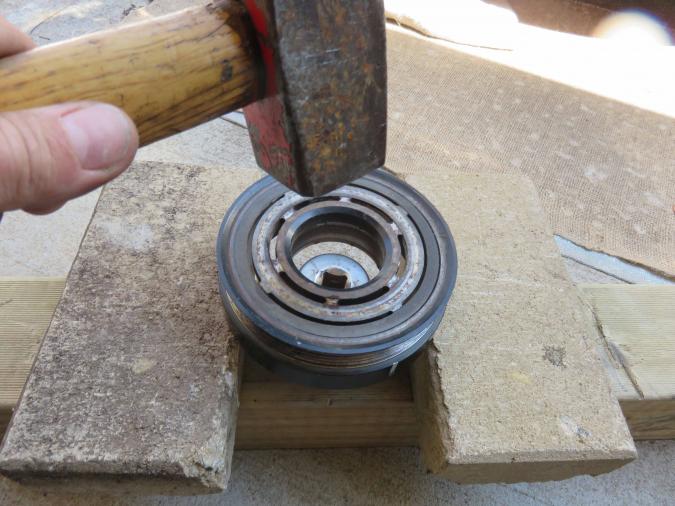
Installing the new bearing

Try to put it in as straight as possible, just be gentle while pushing it in, and keep checking that it is straight.

Check that it is fully in (small gap here so not fully in !) , the noise when hammer it in will change once fully in location
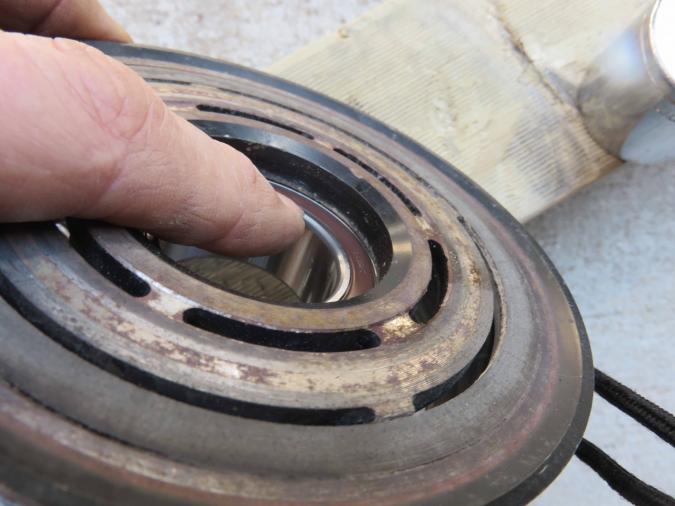
punching around the bearing to hold it in a bit better

Punching done
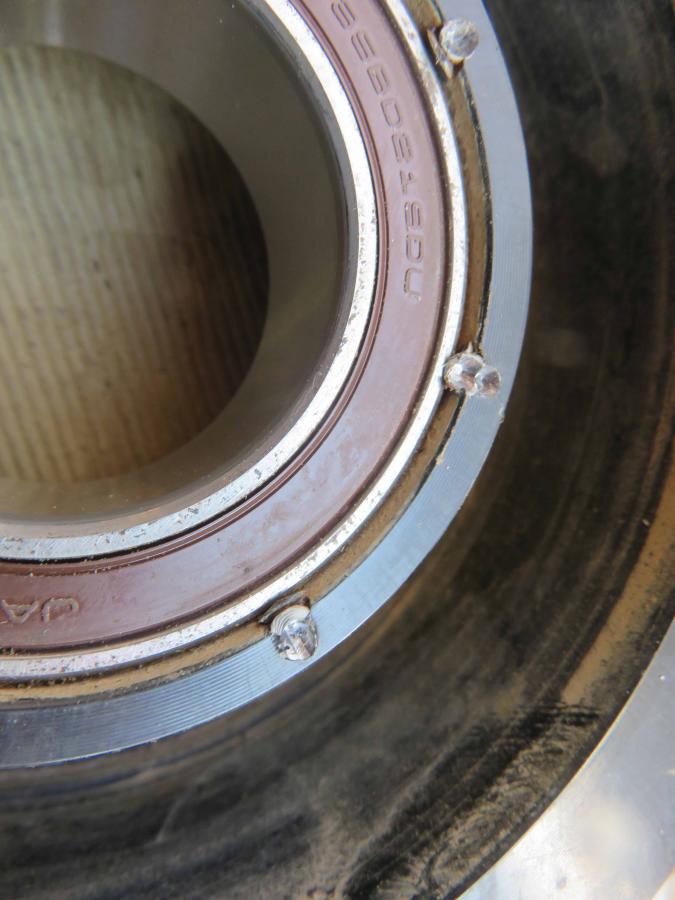
Putting it back in was my concern, but since the bearing is fitted on an aluminium shaft I thought that it shouldn't be too hard. I used a hammer with my hand on the radiator side to not hit the radiator. Very easy !

Circlips back in, eye on the end of the screw driver

Plate back in, tight the 10 mm bolt using the long screw driver to hold it it place.

Done :) It took me a while to work out how to get this bearing out, then about 2 hours to do the tools. Maybe a good hour to do the work (taking pictures !). I also removed the fan, the A/C belt, the bottom hose and fitted new coolant. Removing the radiator could be worth doing as well (lots more room then). I had the metal plate on the side, I just bought a few bolt and a $30 bearing. I alway get bearing made in Japan when I can. And next time I have to replace this bearing, that will be very easy !
Happy io
cost
Yes, proper vehicle maintenance can be costly at the shop. The $400 is mainly because they probably removed the A/C unit from the car, by doing so you need to remove the gas and recharge when fitting it back on. Last time it cost me $240 just for the gas and tint (to check if the circuit leak in the future).
I think that you asked me when I was going to Fraser, I couldn't find where in the forum! We went to Fraser in the second half of July. We visited Bob, on short notice ... Sorry, next time ! not sure when at this stage.
Happy io
yes
Yes, that is the practical side of these tool, you don't have to remove the unit and that represent a good saving. Even if someone cannot use the tool himself, he can take it to the shop, they should be able to use it.
We stayed on Fraser as long as my holidays let me and stayed only a few hours in Brisbane. Plenty of nice thing to visit in QLD....so, yes there will be a next time:)
Happy io
bearing for AC unit
Claude,
Don't suppose you remember what size bearing it is? I have been trying to get one before I pull the unit apart but can't get the sizing from anyone.
Also saw on another post you had a belt to bypass the AC and was wondering what size the belt is.
cheers
Scott
A/C bearing
I just found the original one and the bearing ref is NTN 2J-DF07A02LA4. NSK 35BD219T12WCG33 maybe the same. The approximative size is, taken with a ruler so a very rough size ! !! internal diameter 35 mm, outside diameter 55mm, and about 20mm high.
If I find the shorter belt, I will give you the ref, but if you take a rope, put it around and then measure it, with the measurement your local parts shop should be able to help you out.
Happy io
I have bypassed the A/C for
I have bypassed the A/C for now and used a 5PK1080RB belt and was a bit tight to put on so maybe use a 5PK1090RB, either one will work. When putting on loosen the idler pulley a fair way and put the belt on then adjust idler pulley until belt is tight.
Bearing
It takes less than 5 min to remove the fan and it doesn't take much longer to remove the radiator either but you will have to get new coolant. This will give you more than needed space to do the work. It can be done, with some care, without the radiator removed. Finding a tool to remove it is more of a problem than the space.
Happy io
In the process of doing this now!!
Hello Claude,
Firstly THANK YOU! Without this post I would never have attempted to do this work myself.
I was quoted $1200 for a new compressor, then $900 for a new one. Then a place in QLD said if I remove mine and send it to them they world fix it for $600 (plus freight and an obvious regas). So I thought, stuff it.... let's have a go.
I admit I removed my radiator and for the life of me can't understand how anyone could do it with the radiator in place. I made up a tool which took about 30 minutes to make out of scrap crap I had laying around the place. The circlip was a little tricky to remove (looking through a mirror with a torch in my mouth). To remove the pulley, I found it came off easy just with a screwdriver prying with little force between the compressor body and the back of the pulley. Pry a little, turn it 120 degress, pry a little more etc. Came off with no puller required....maybe I was lucky!
My bearing is a 2J-DF07A02LA like everyone elses.
WHAT IS THE GENUINE MITSI PART NUMBER FOR THIS BEARING? ANYONE????
That's the only hold up I have now. Once I have the part, reassembly should be easy.
Thanks a million Claude.
Fab.


Nice!
Nice job Claude!
I will drive down to you and pay you 1 hours labour + $30 for the part to do this for mine.........
Impressive write up but, can't believe how clean your engine bay is though~!
2002 5dr Pajero IO QA 2.0L Auto - Lifted, Locked!! 1.925 Low Range - Muddies (205/80/16) - Redback Extractors to 200cell cat to dump at diff Exhaust