Christian's 2003 IO
hey guys, I'll use this thread to show the status of my car. From when I found it on carsales and to purchasing it.
I will also add information here things that I find and things that I may stupidly do to it :D
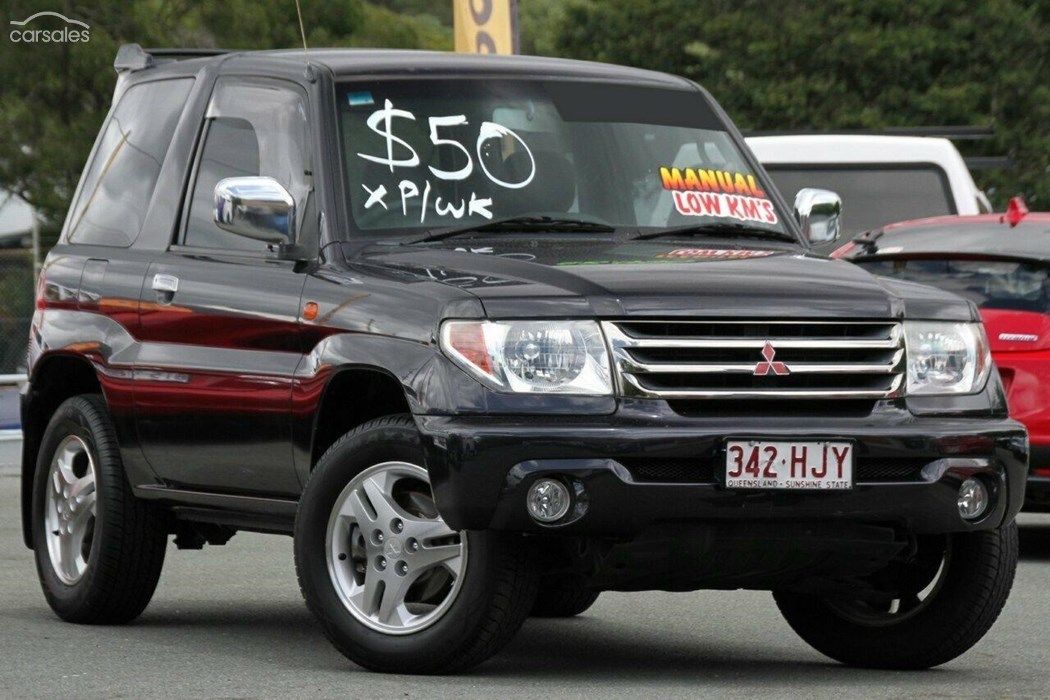
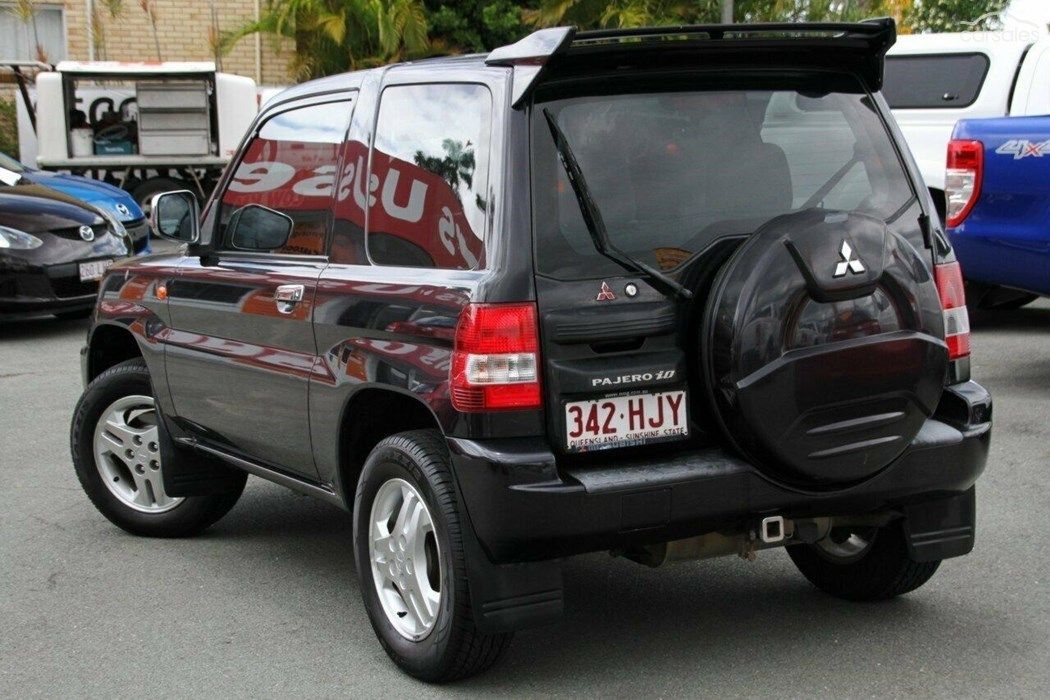
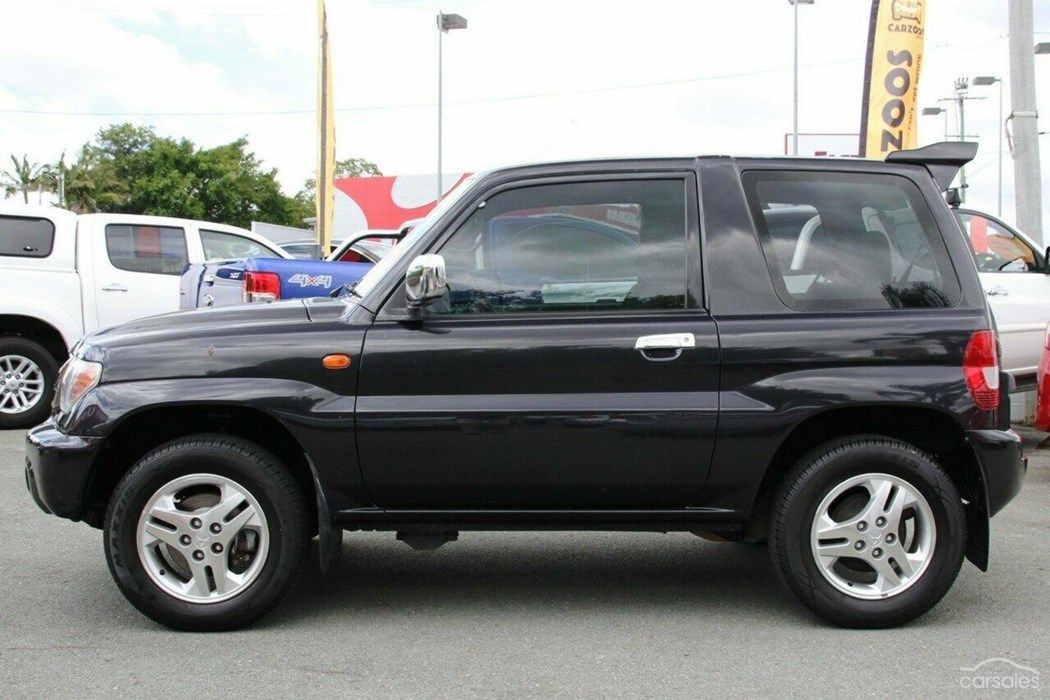
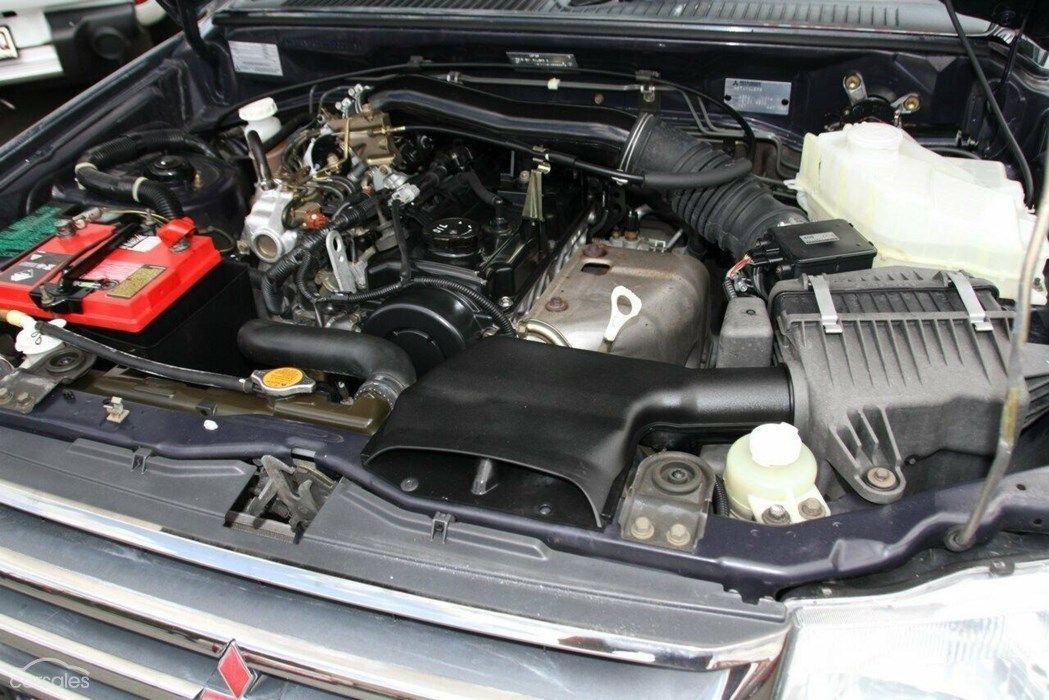
Pictures below are from when I saw it from carsales
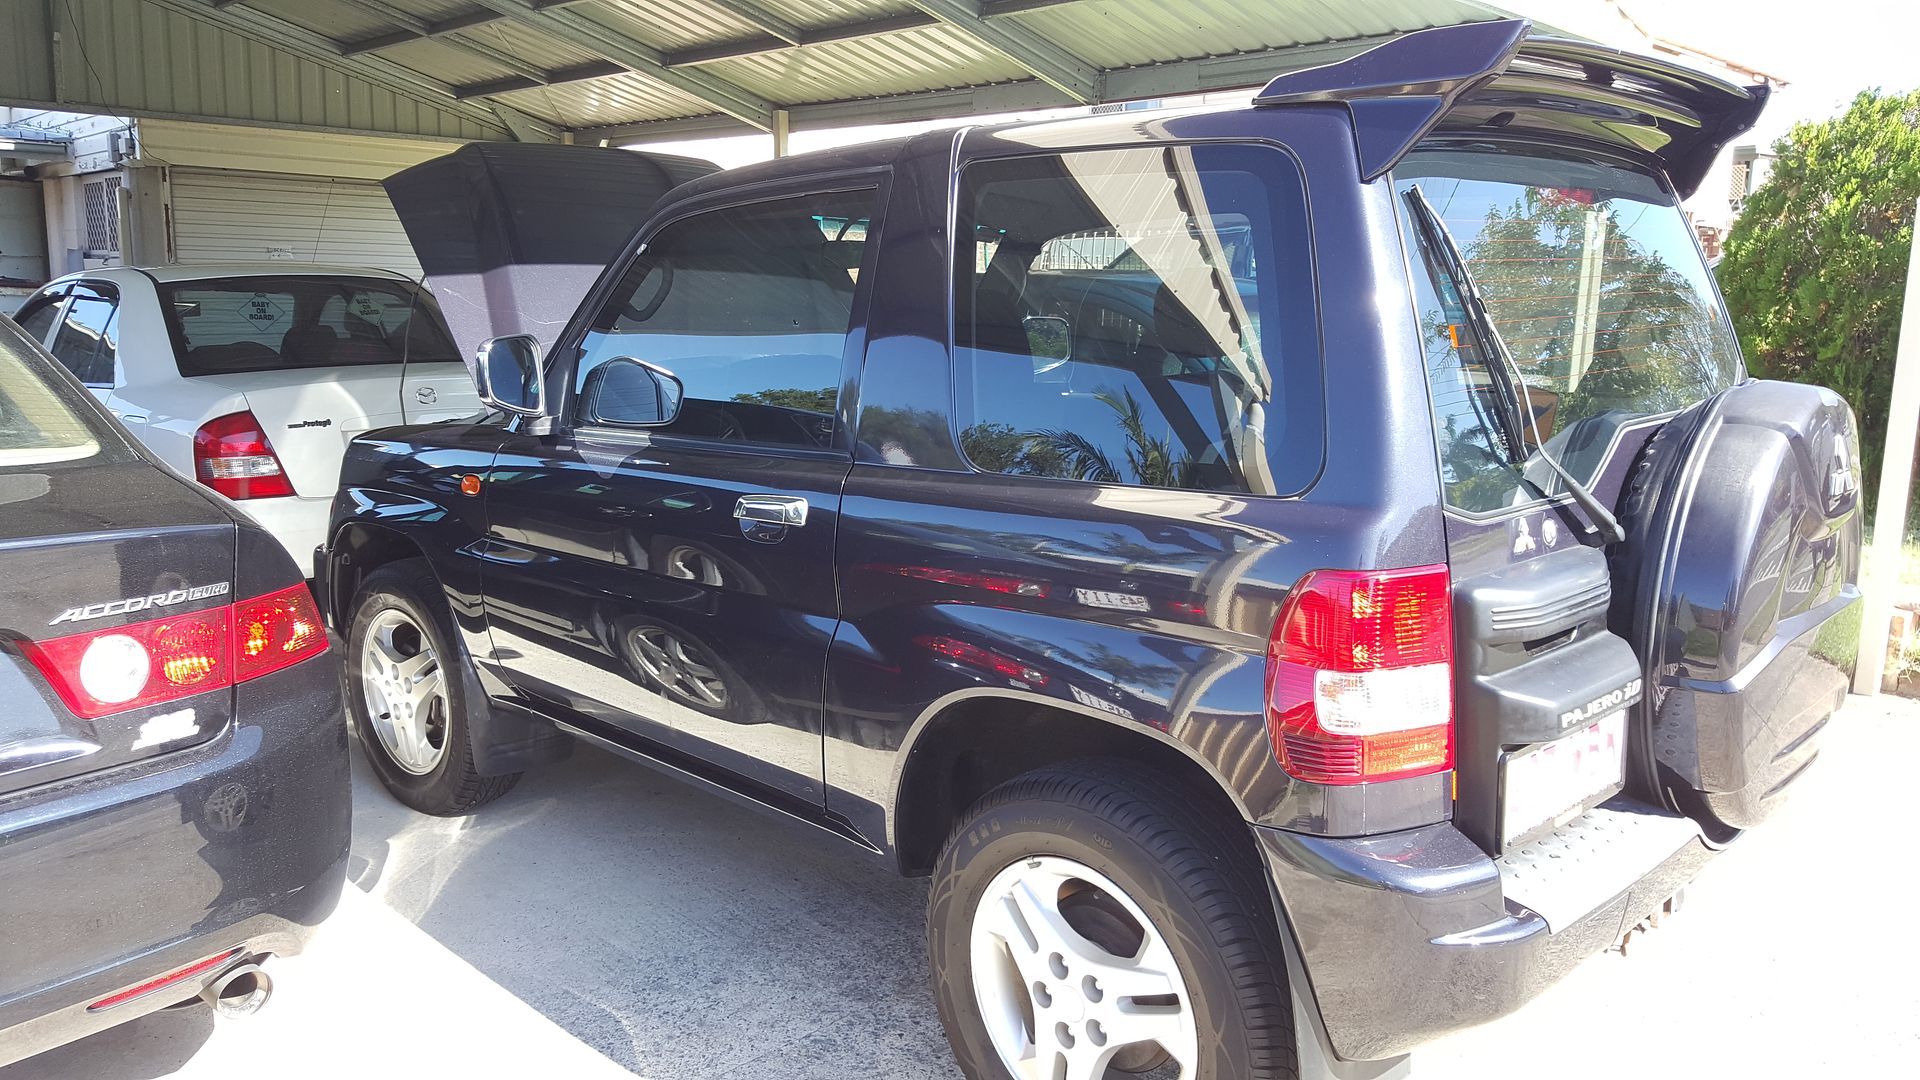
External shots...

Engine Bay
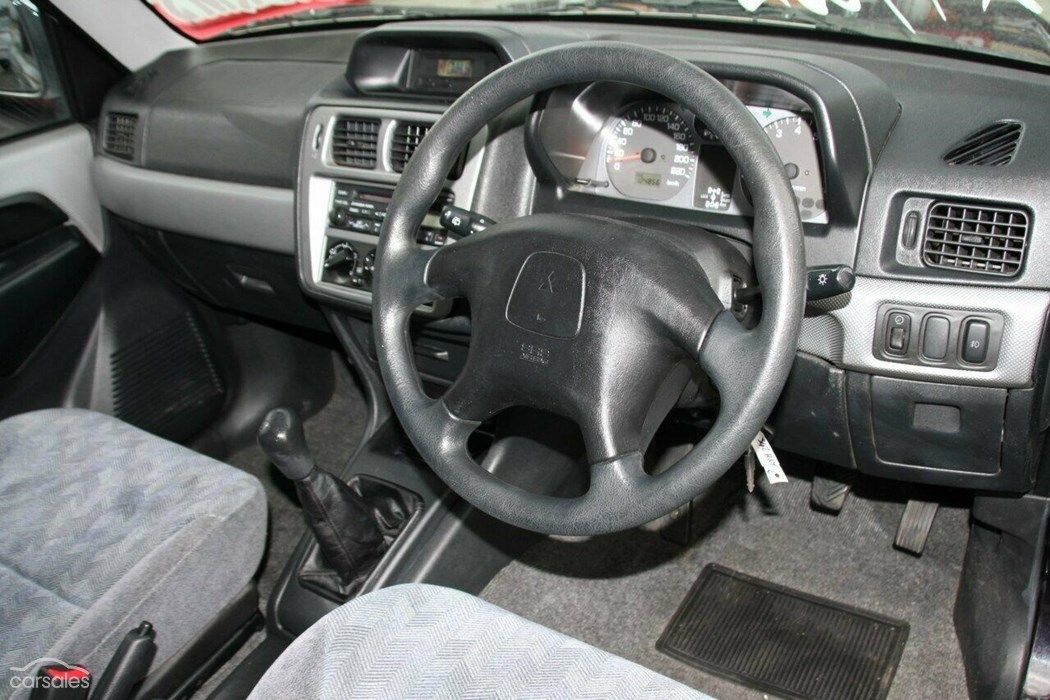
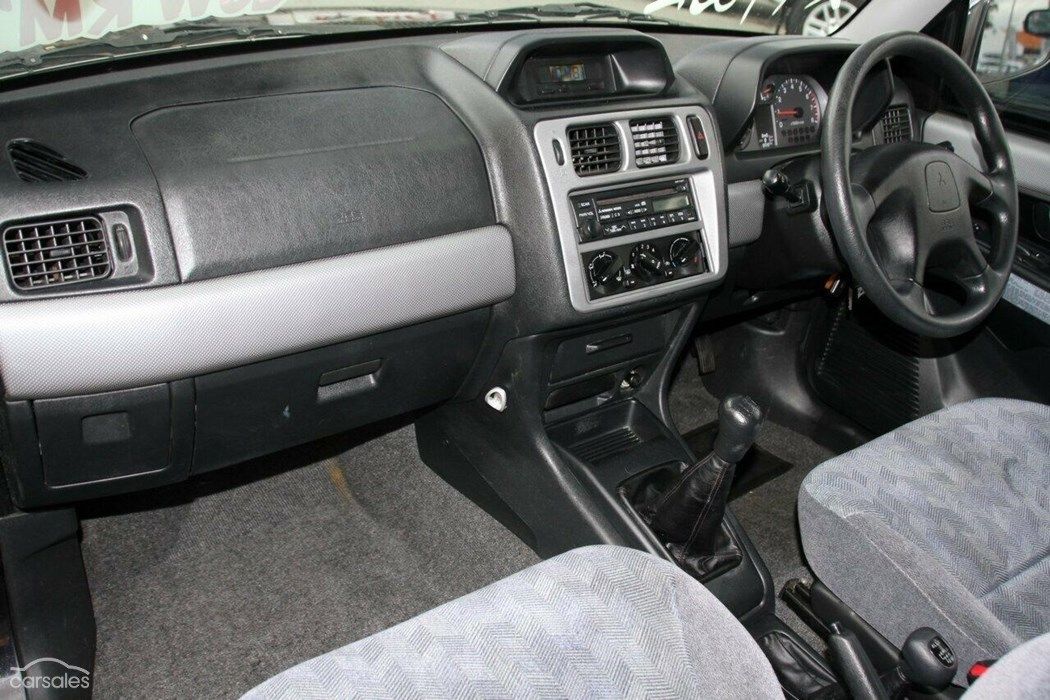
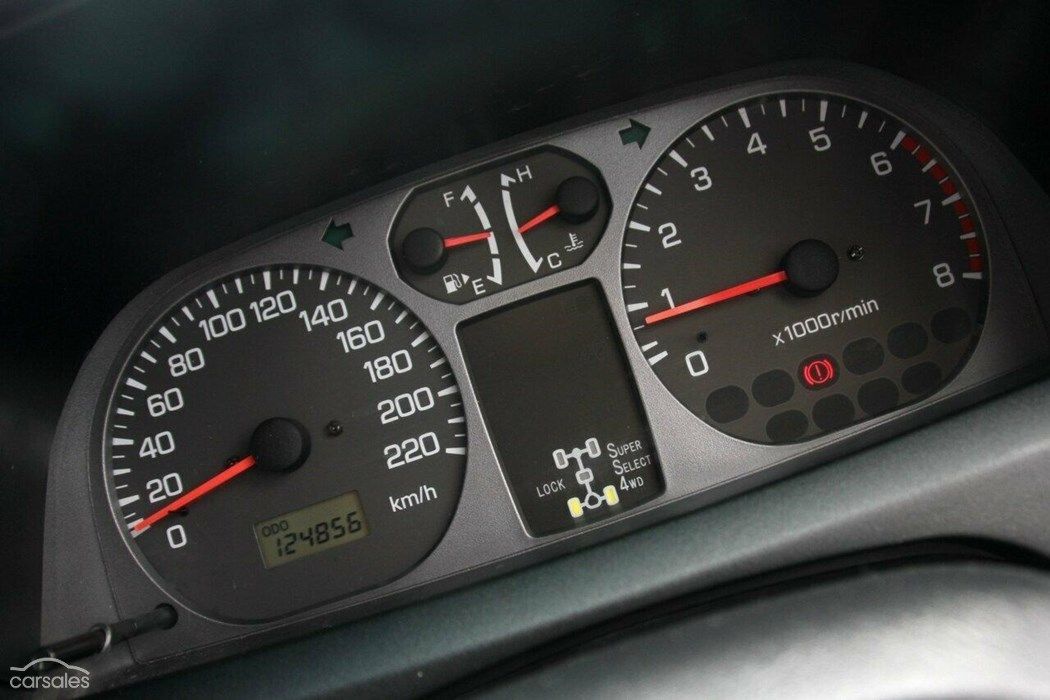
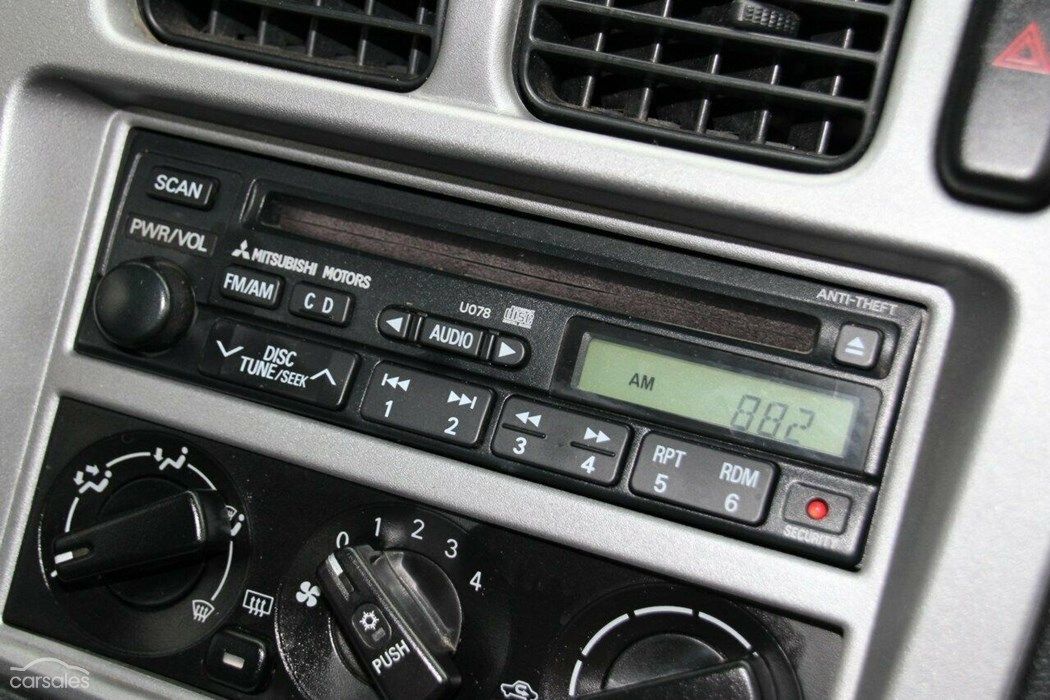
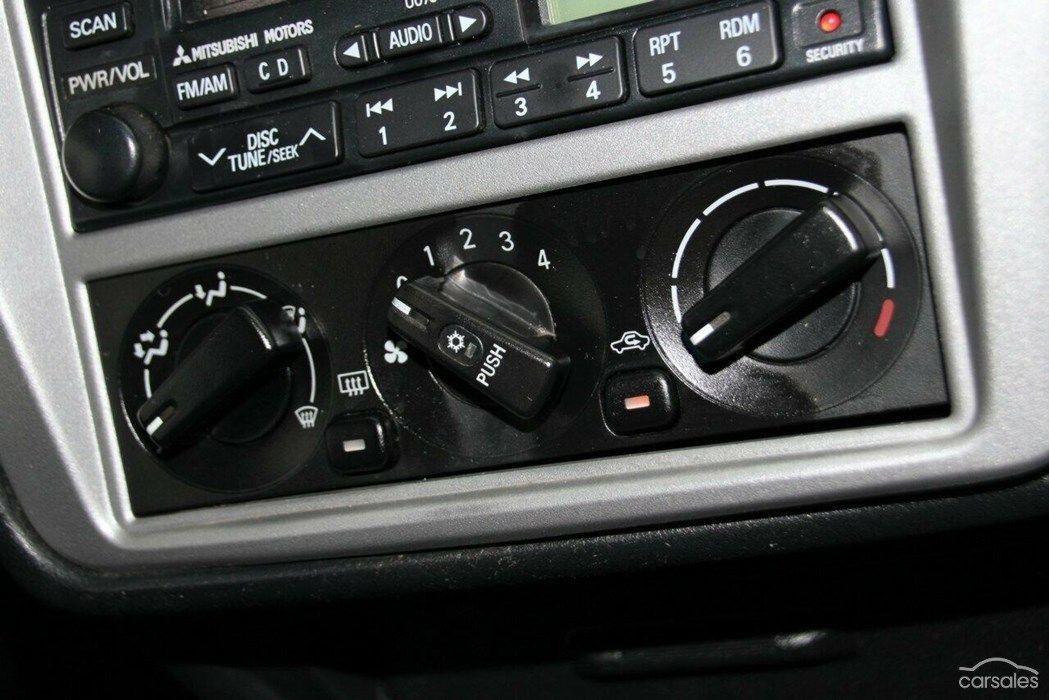
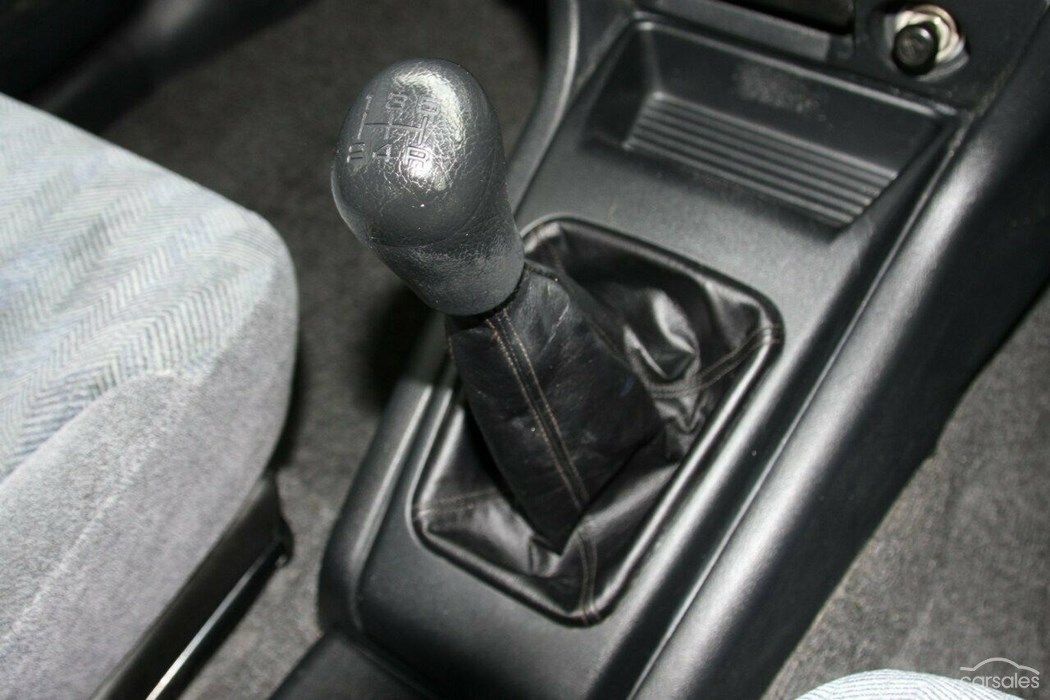
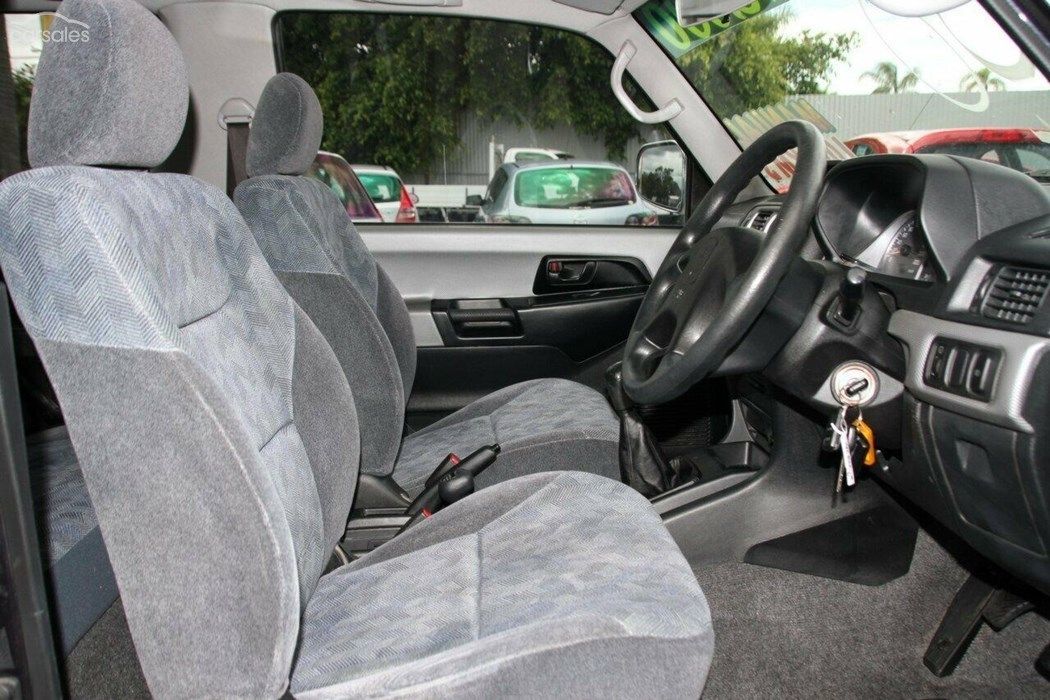
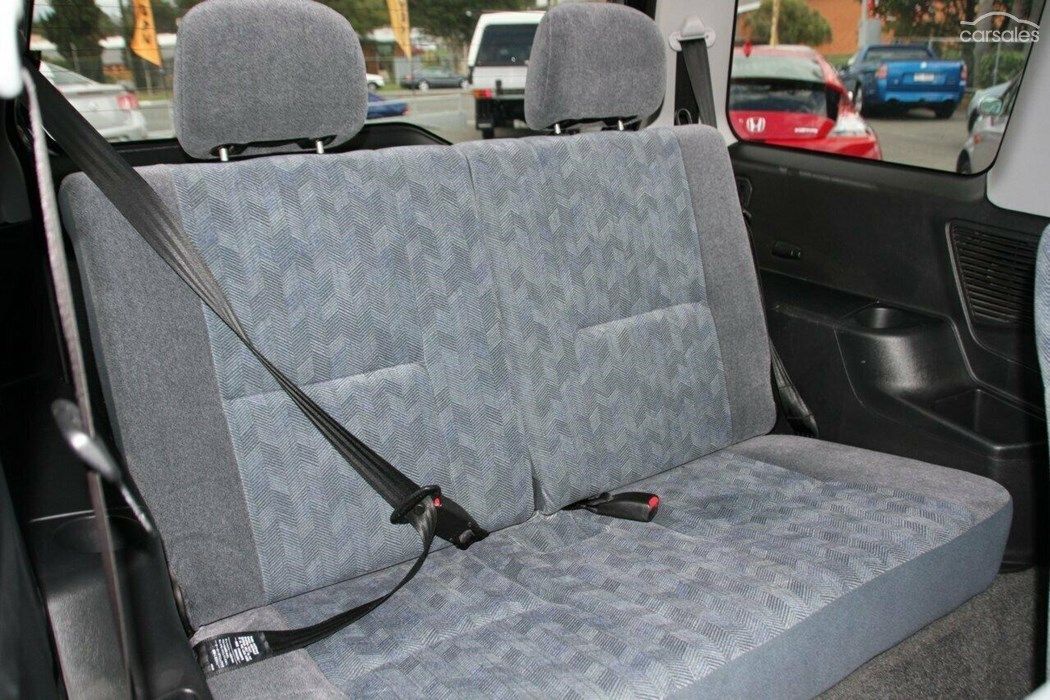
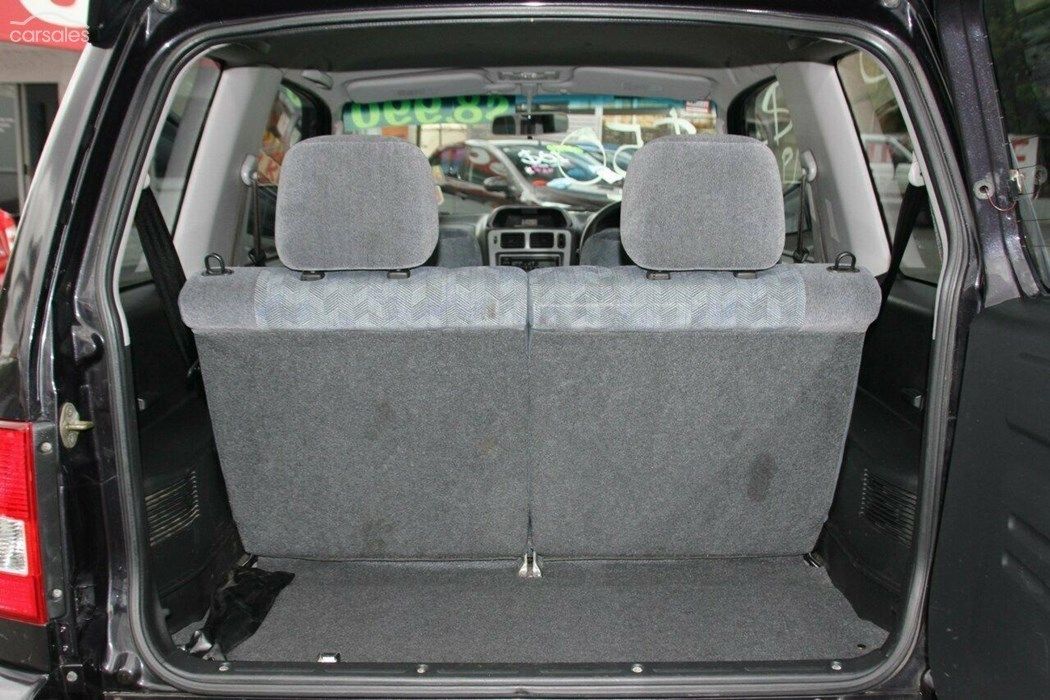
Interior:
and acquiring the car
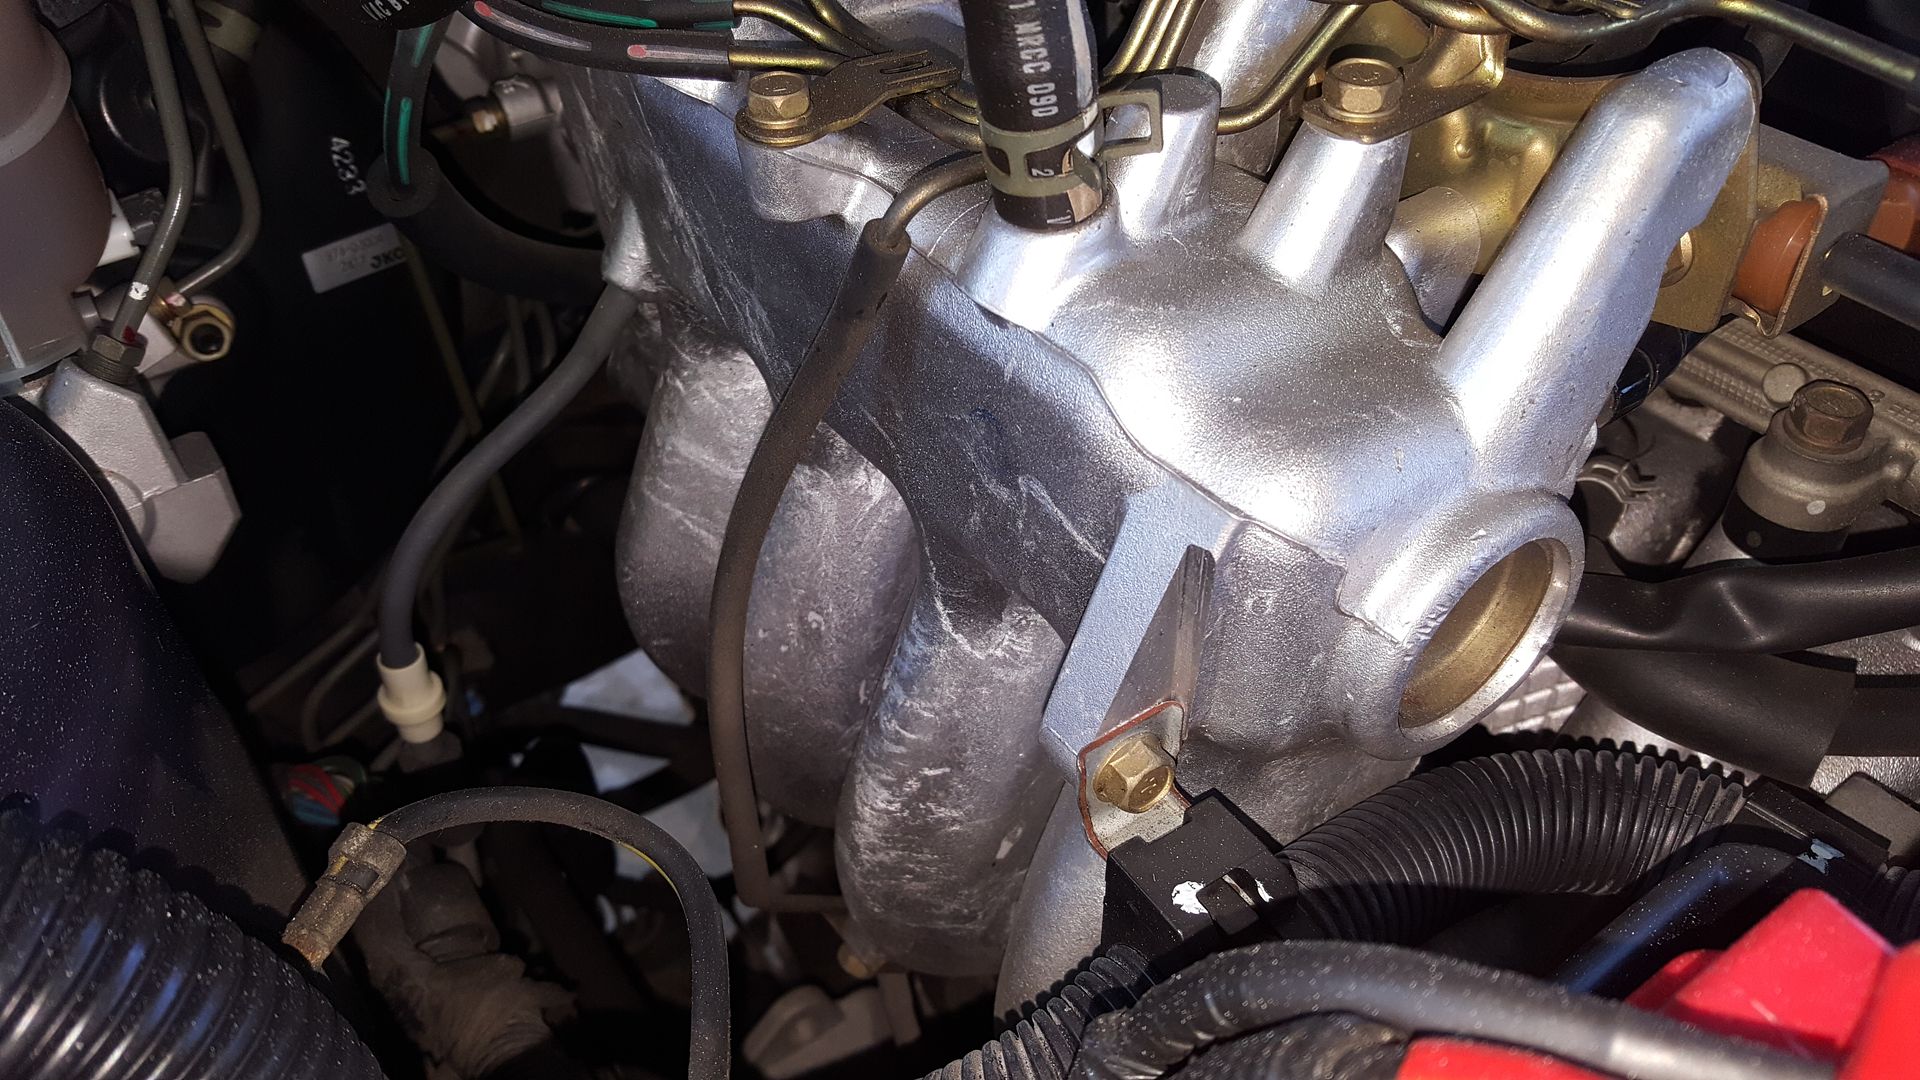
Engine's internal
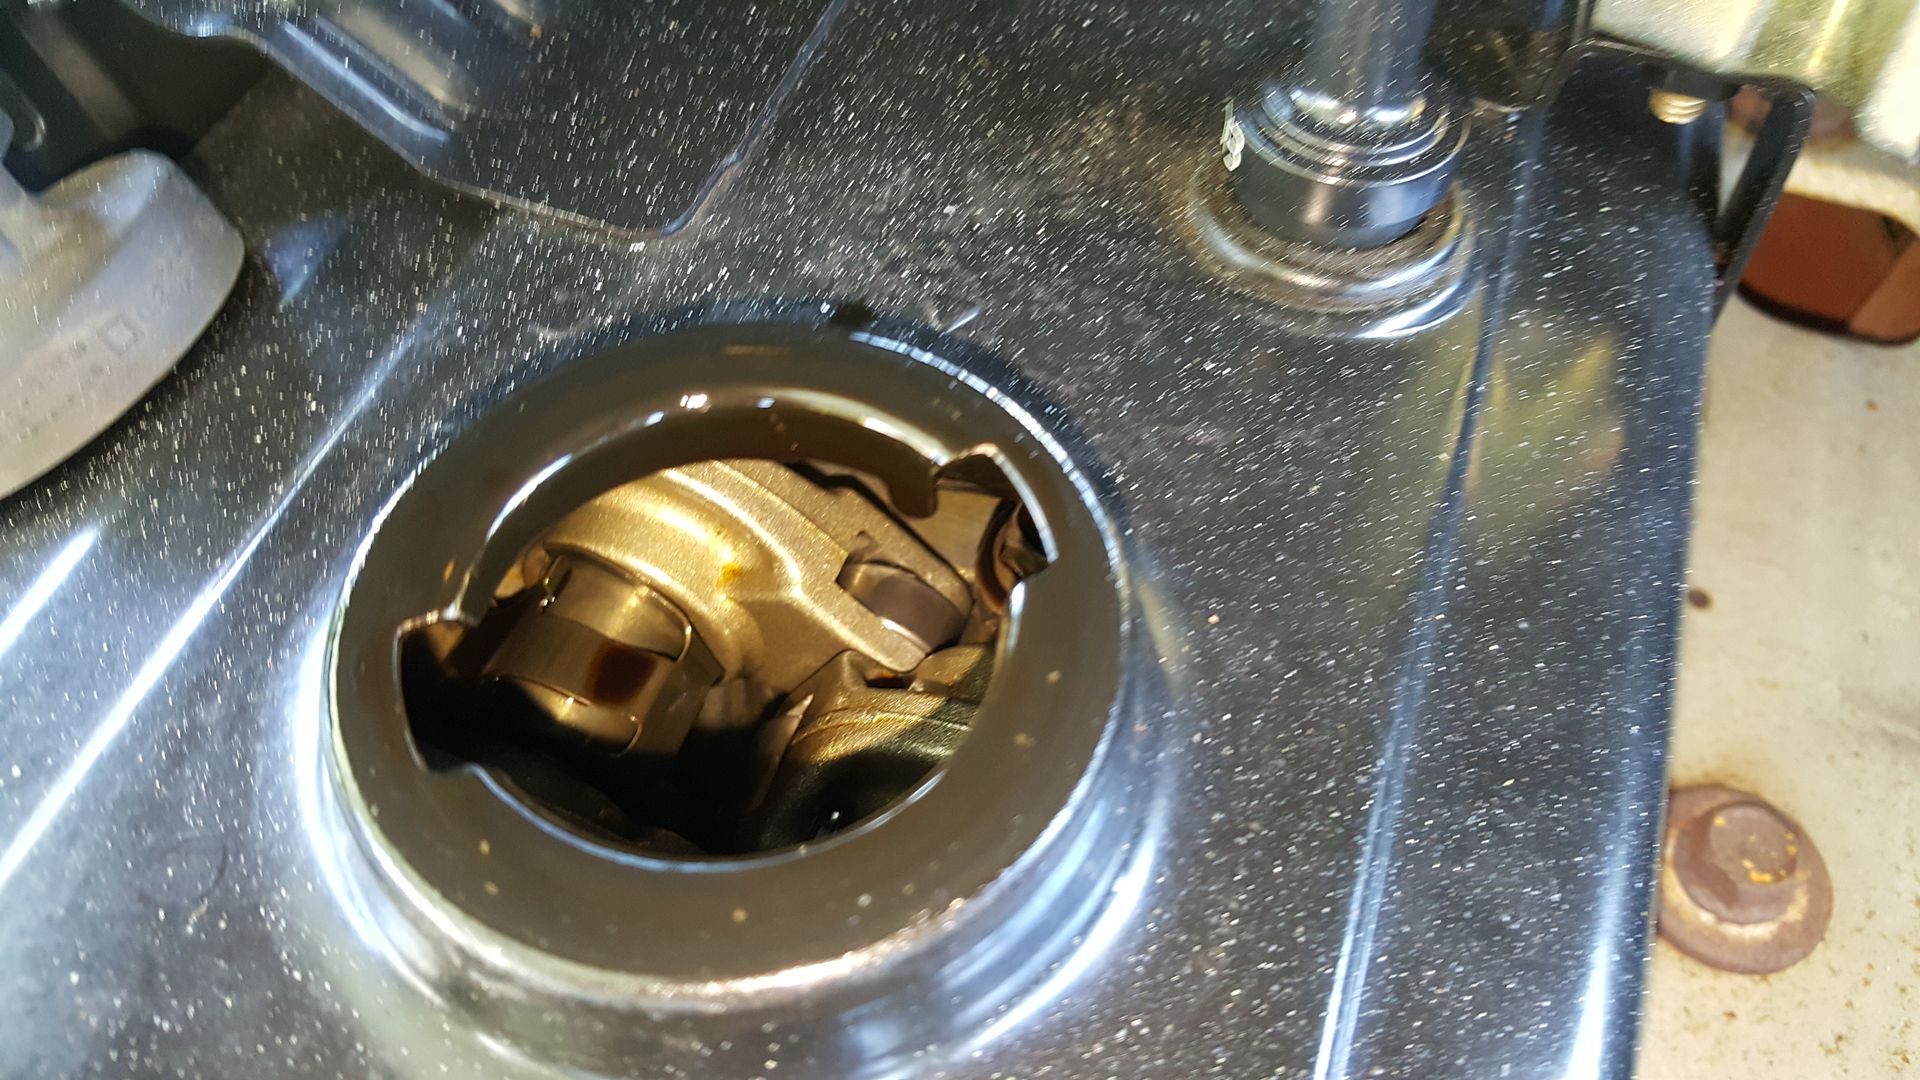
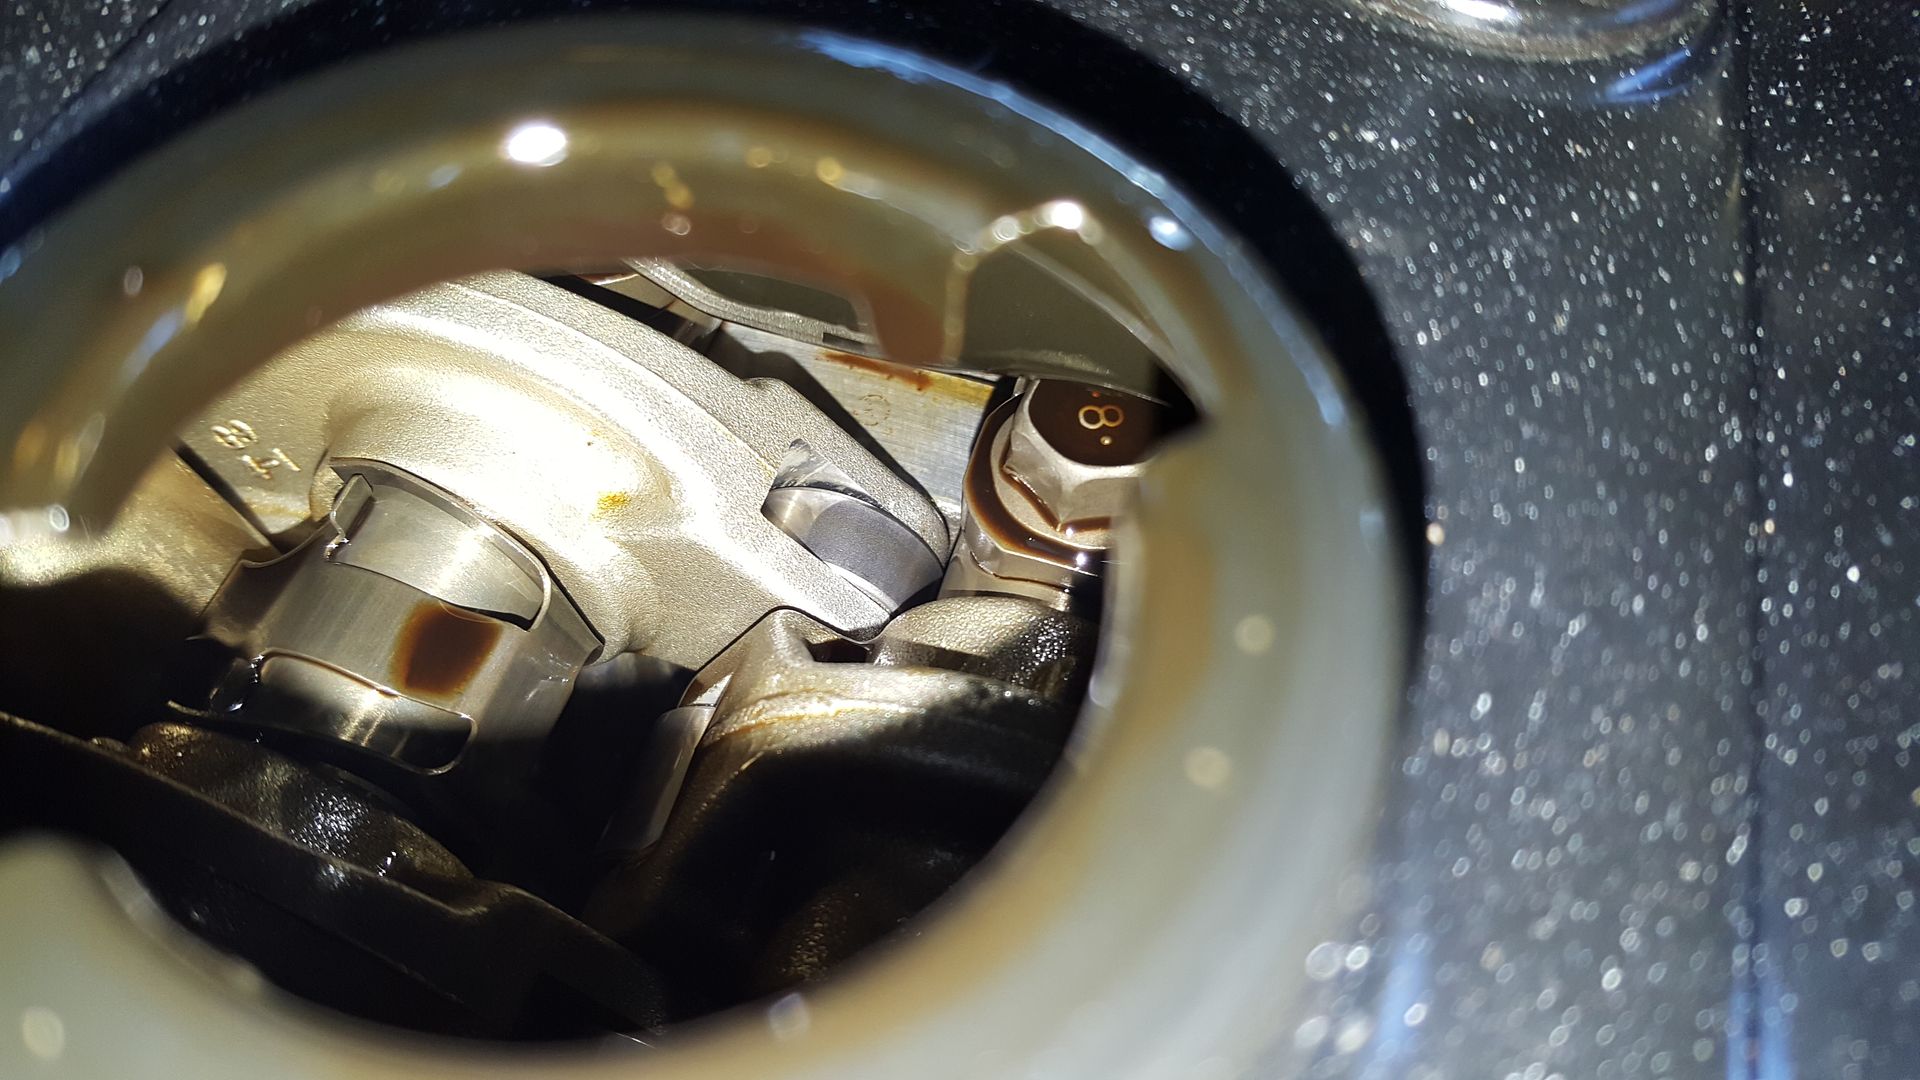
and Intake Manifold's condition
and only pic of the car I had taken as I was busy driving it around
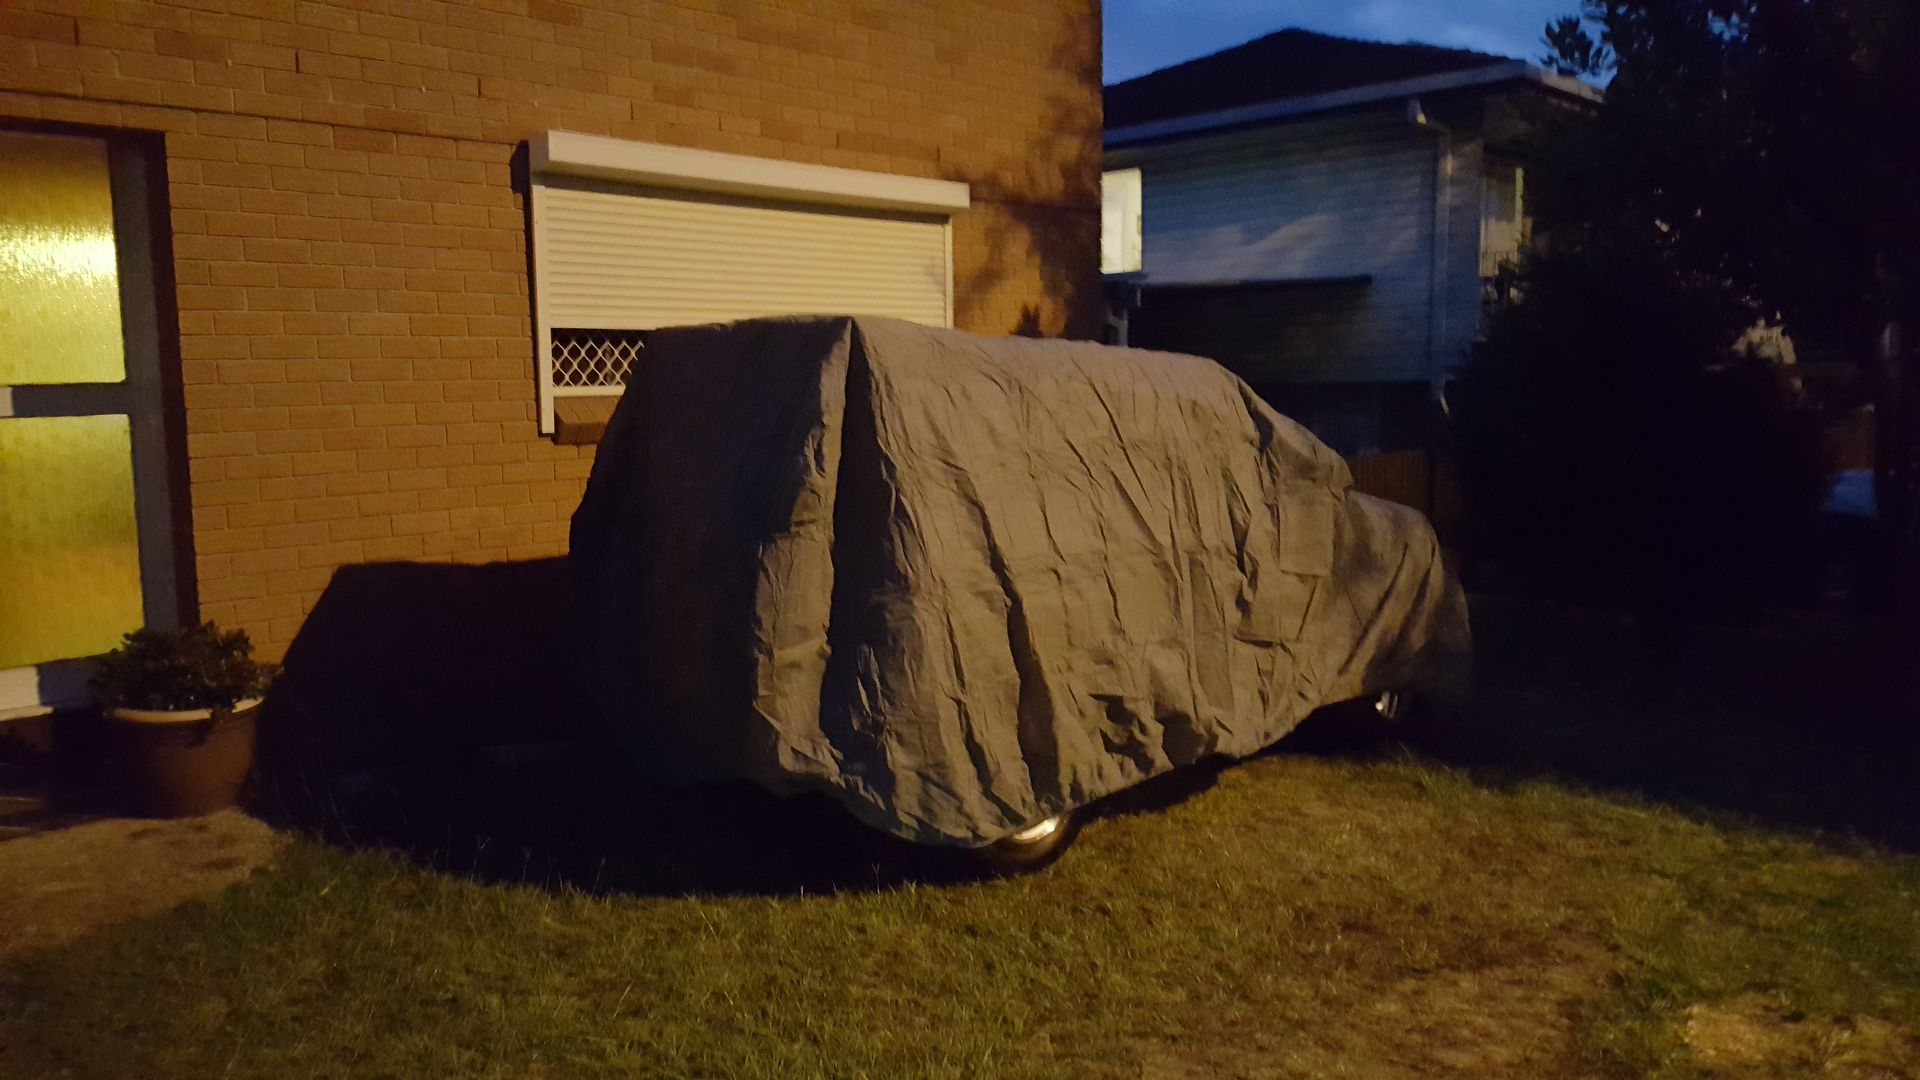
and how it is right before I left for WA. I washed and dried the car before covering it up.
Future mods:
- Better Lights - 2.5" or 3" HID Projectors with either 5000k or 6000k bulbs 55w for the 3" ones or 35w for the 2.5" units and might consider switchback Halos to suit
- COP Kit - 4x denso coils to suit - done
- Cold Air Intake - CF air box (ebay) from my previous setup
- Side Steps - might do a DIY unless I see one in gumtree or ebay
- Evo 9 Rims - currently on my other car otherwise EVO X Enkeis that are sitting and waiting for me
- Better Brakes - Bigger Brake Kit (Twin Piston) / Stainless Steel Braided Lines
- Leather Seat Covers (from Philippines)
- Clutch Line - I believe there's a part that uses hose, Im planning on replacing this with Stainless Steel Braided Line as well as I find the clutch response to be a little slow. Perhaps Im just being a retard with it
- Headunit and ICE - may install my 7" single DIN into this car to accommodate reverse camera as well. as for amps and speakers, I think I will keep it simple - 6.5" splits with a small amp then with an active sub so no messy extra wiring for a big/huge amp
- Window Tint - currently it's tinted, but the passenger side's been scratched up really bad. May need to look for a workshop that won't ruin the rear windscreen demister.
- Extra Lighting for Reverse?
- Turbo?
I will most likely come up with some stupid ideas.. so bare with me please :)
Feb
Looks so clean :)
Will follow the progresses, when are you back???
will be back Feb 13.. hopefully things go according to plan..
so far, last 2 rotation, things I wanted done never happened..
at least I'm half way through assembling my CNC Router, that'll give me time to make my own bash plate..

CNC
CNC router, NICE.
If you make a bash plate, ask here, and make some more, you can make some $$$$$ and people might be happy to get a proper one :)
I made one using the Shapeoko 2 concept, but I found that it flexes on aluminum. Now Im building a small OX CNC which I saw from Openbuilds.com
few pics
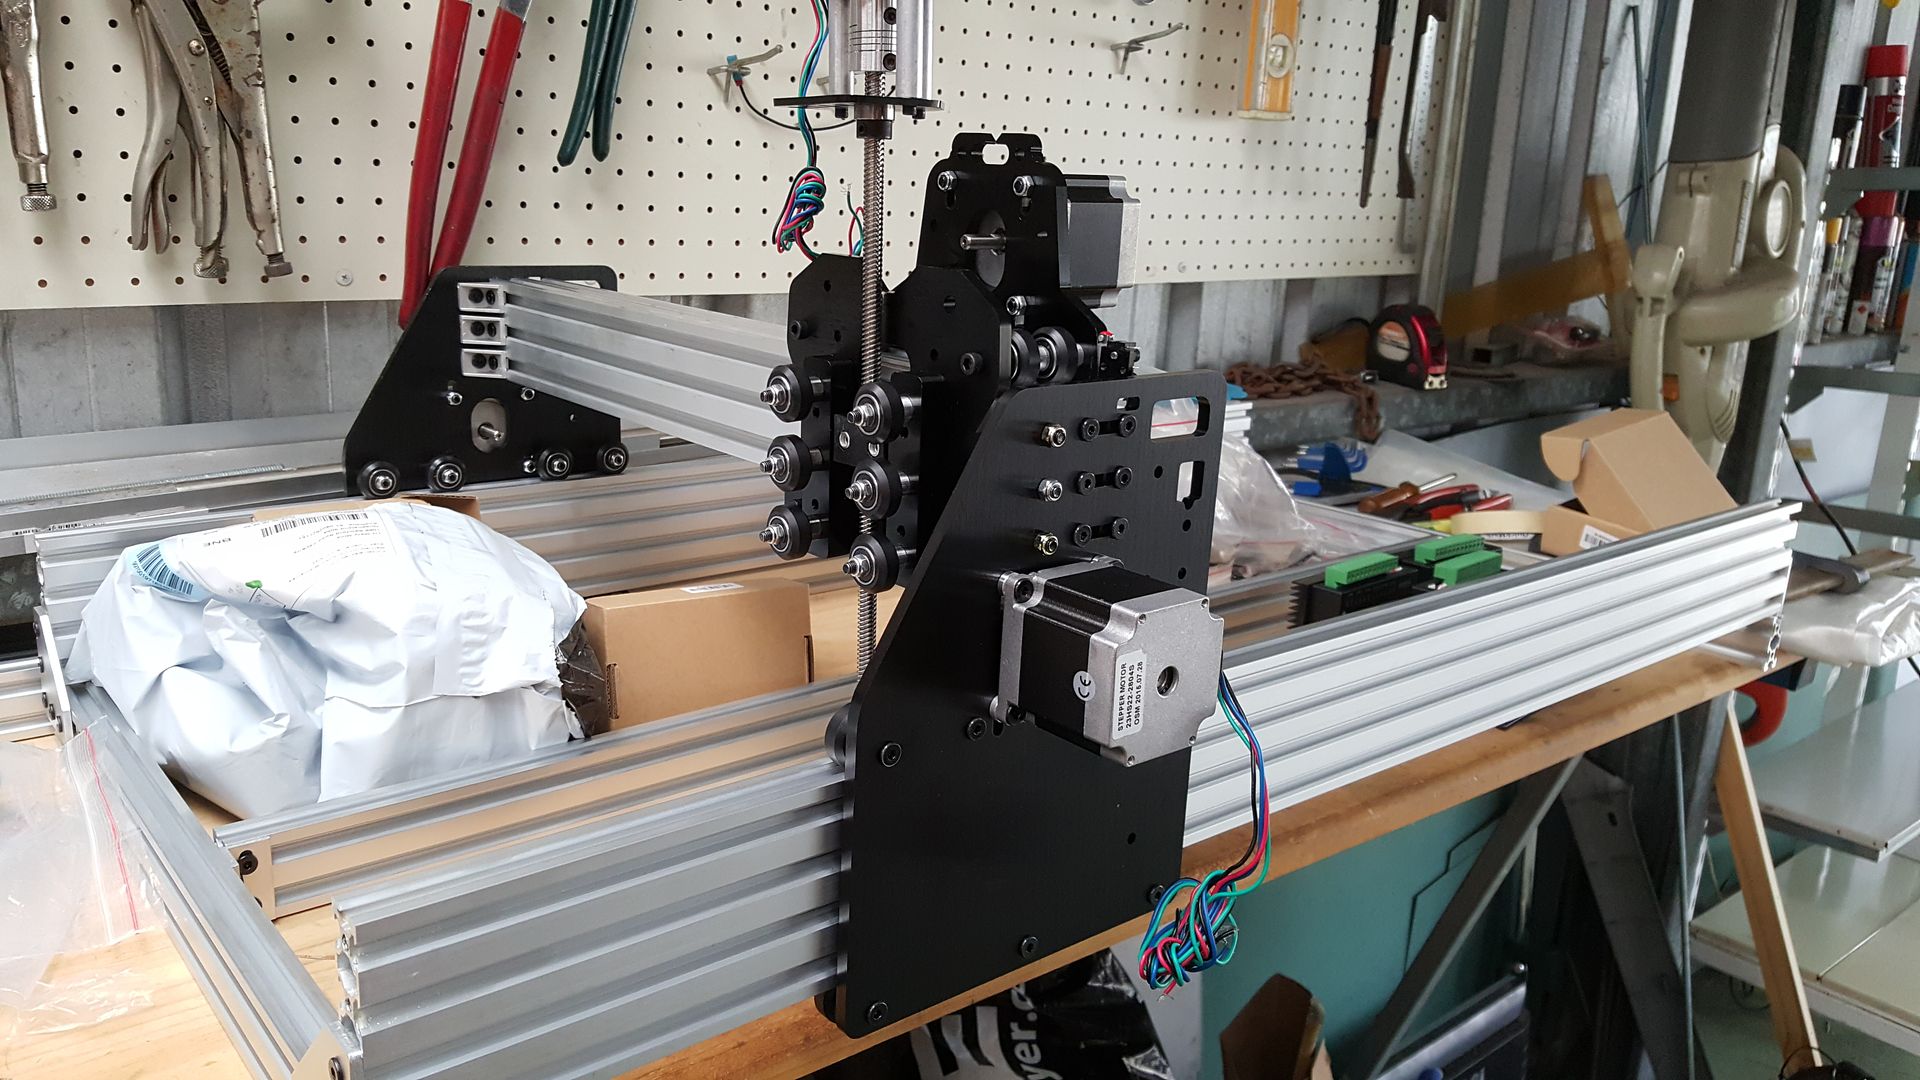
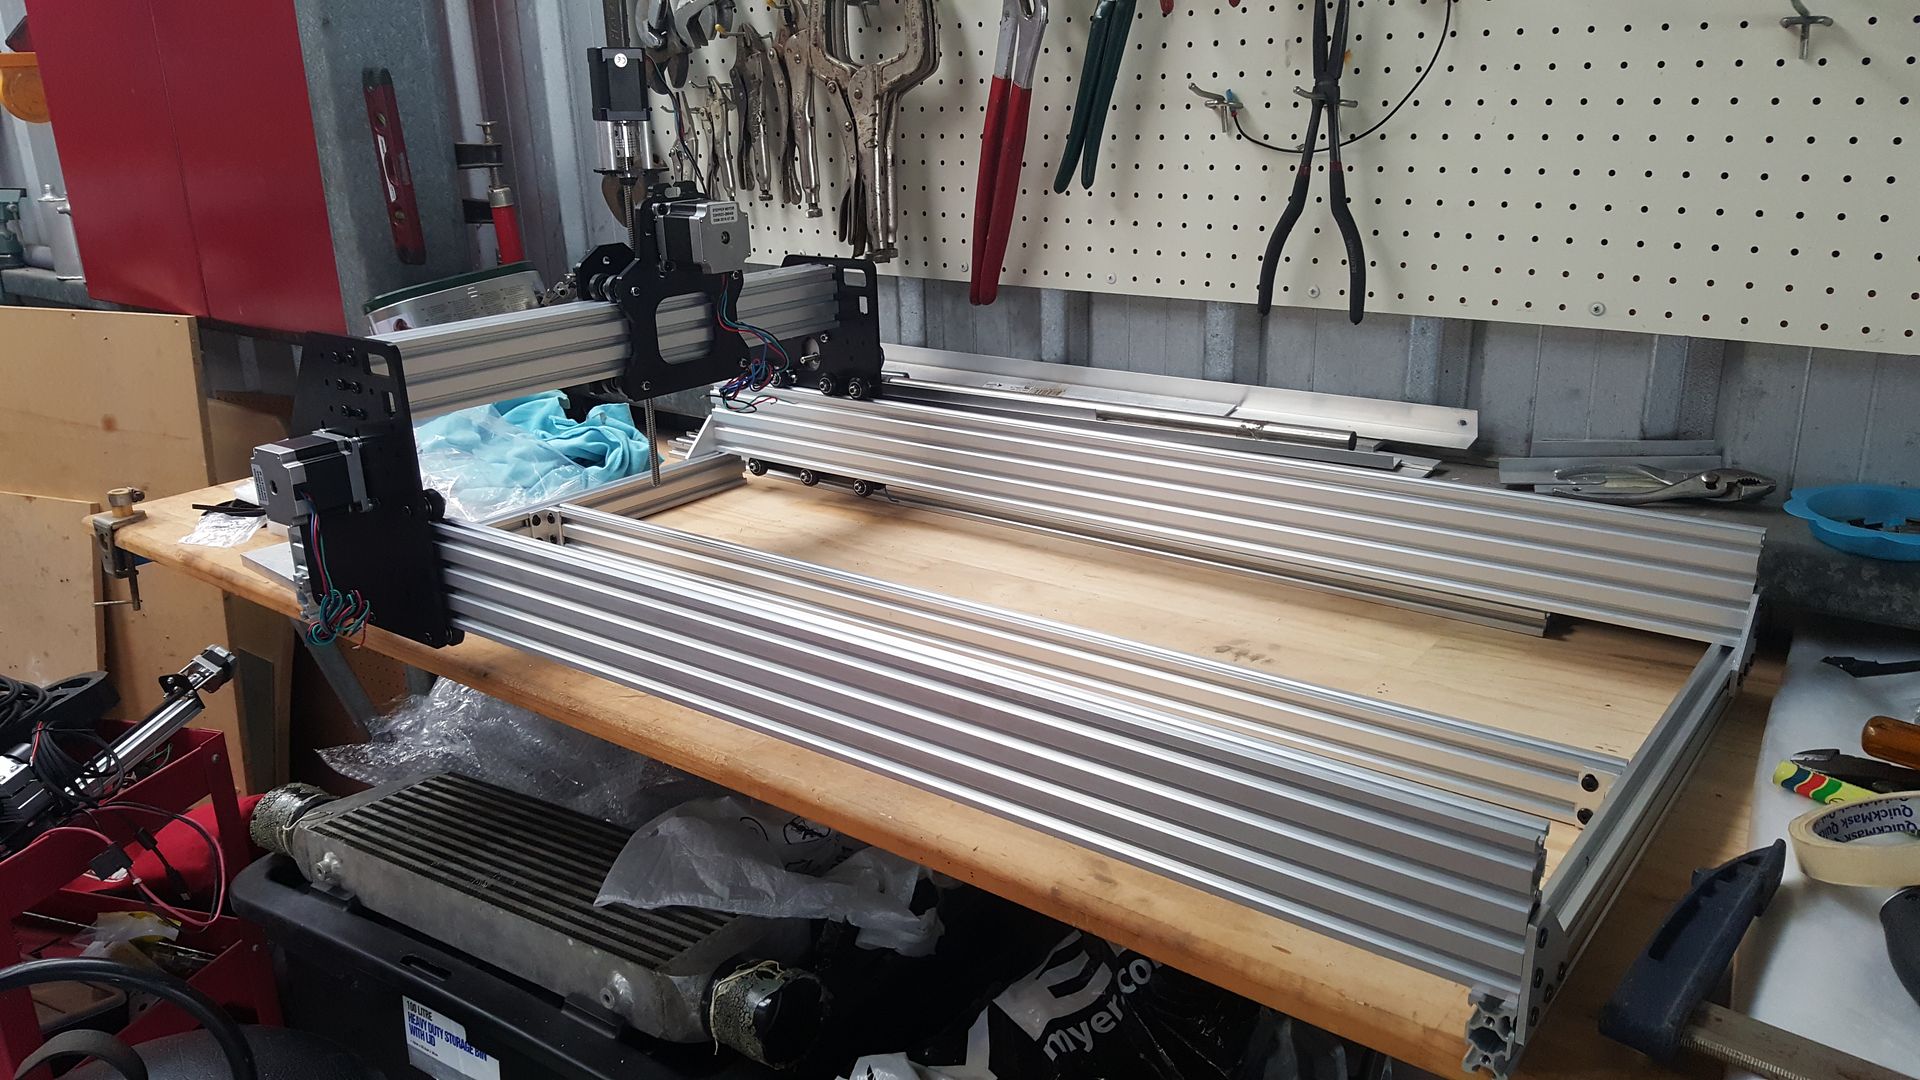
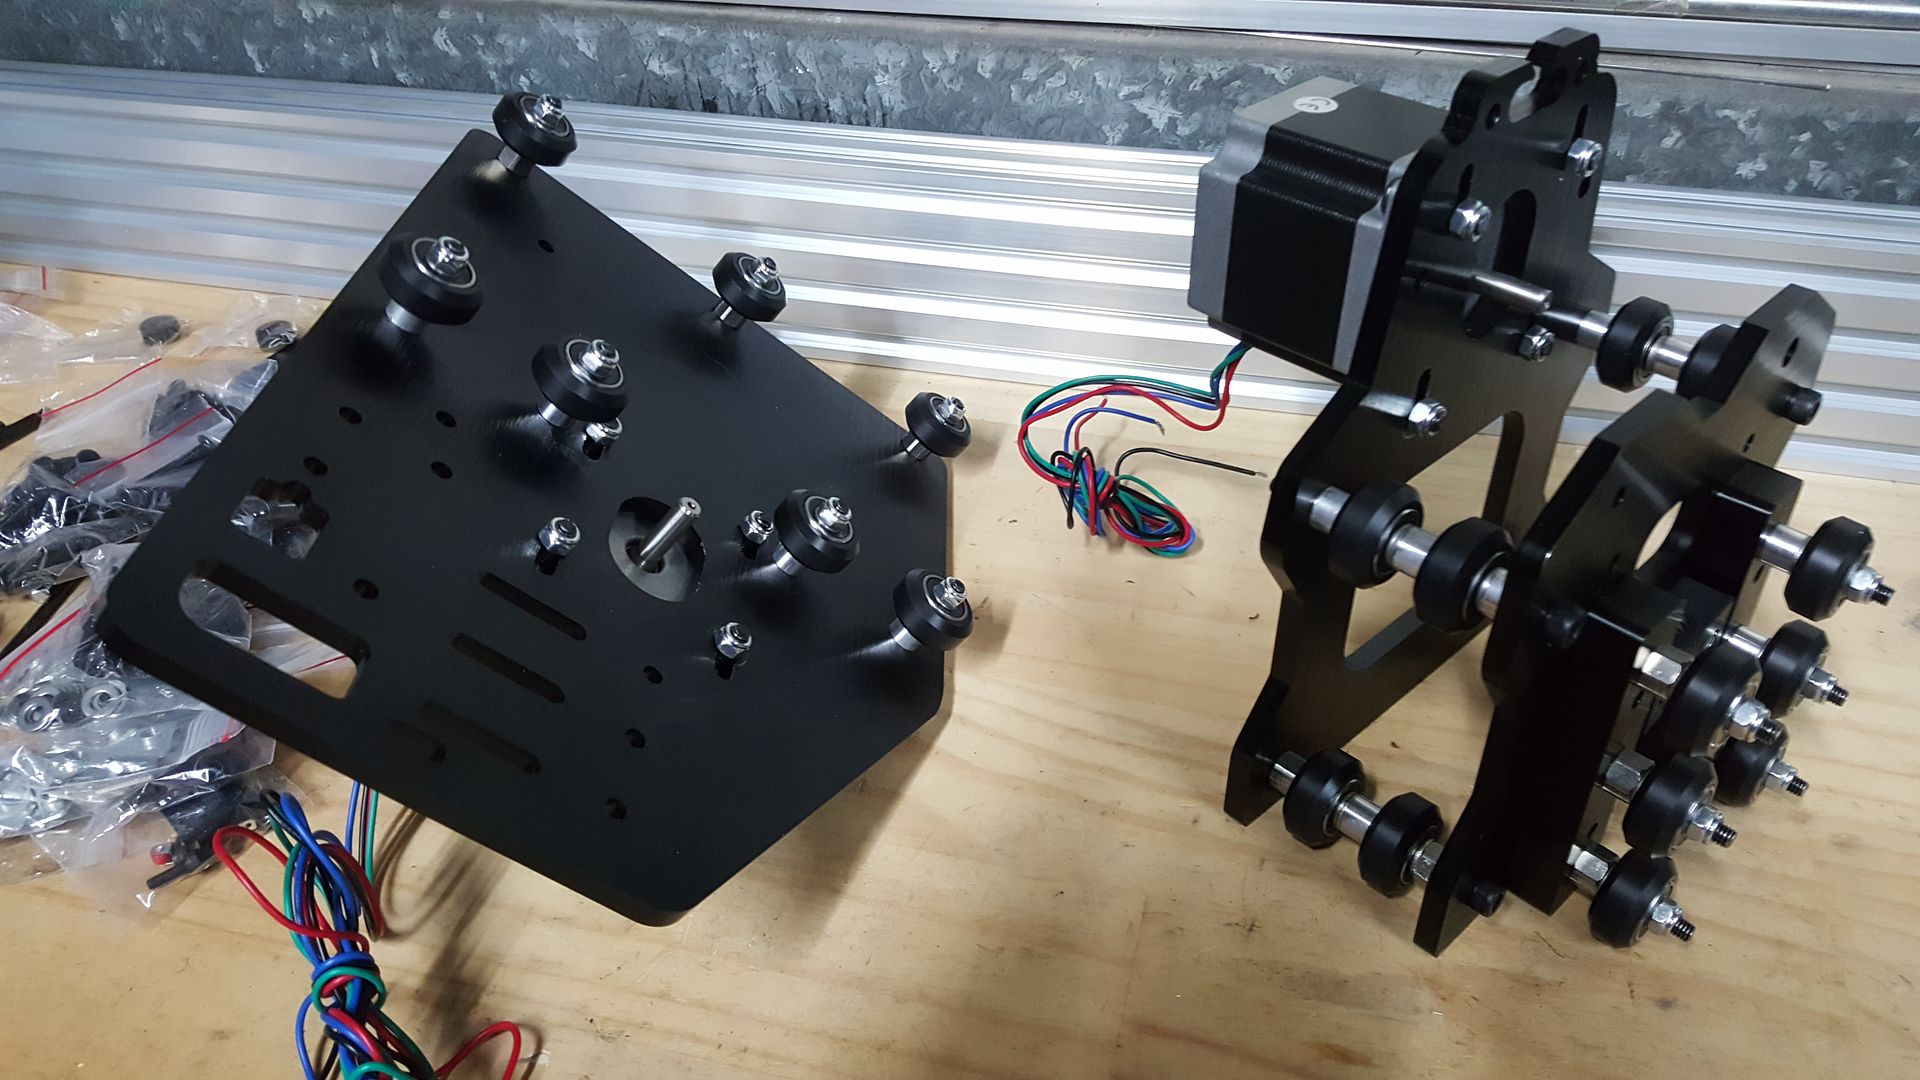
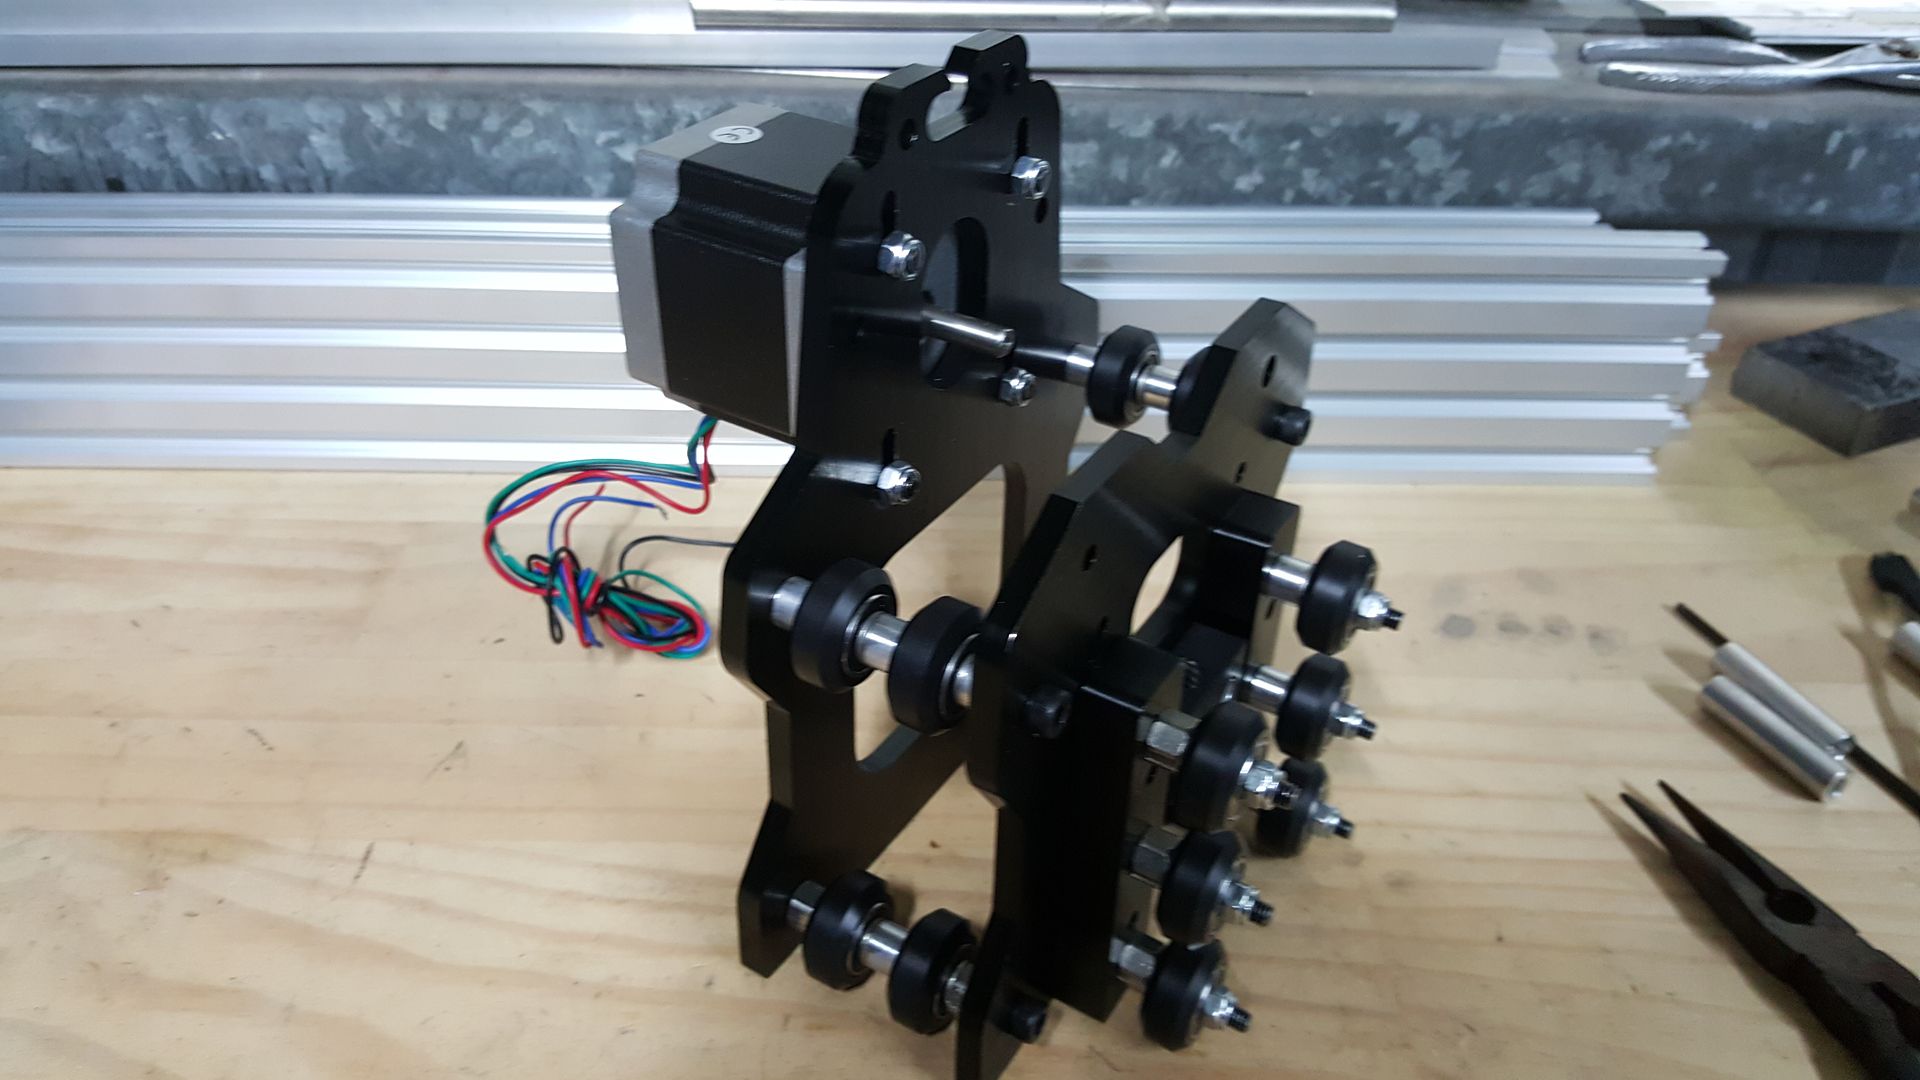
reason for going with this. I have seen more people with success cutting aluminum and mild steel and the linear rails themselves are more sturdy than the Shapeoko units.
also, I was thinking the other day about sidesteps..
and I thought of using these Linear Rails as side steps and possibly even have motors on them
sidesteps
Let us know how you go with side steps (can be brought but very rare) or rock sliders (have not seen them for sale only custom jobs)
Nice clean IO!!
I have contacted a shop in Brisbane regarding the sidesteps and they can supply it or supply and fit it
supply and fitted prices are as follows
$1100 for Integra
$980 for their standard stepboards
was a bit disappointed at the price hence Im looking at other alternative.
as for the projectors, I cant quite picture if which of these 2 will look natural with the IO's headlight..
These are for the square projectors which can accommodate the 55w HID kit
Planning on using Halo with it as well to use as DRL and indicator
Weather Shields
fellas, i may be ordering this soon
anyone with a 3 door IO wants to join in?

interested
Mate if you want side steps don't buy them, there is a guy i know selling a set for a iO for $100 up here in QLD that he took off his car. If your interested let me know and i will see if he still has them.
Hi Keith, if you can please ask your mate.
also where abouts in QLD is he?
Fb message and update
Sorry, Craig Dallinger and he is on Facebook.
Hi Keith, thanks.. i tried to message him to make an enquiry but i never received a reply.
---
Today, i serviced the car. Oil changed at 126k kms.. not sure when the last oil change was but oil wasnt too bad. Decided to use Fuchs Tita SuperSyn 5w40
Straight away I feel that the engine moves better, Old oil was probably 10w50 or thicker. I hope that it get better economy by uaing this oil. I know in the past it slightly changed my fuel consumption in the mirage.
Also tooks some underbody shots and engine is definitely clean. Down side is that, I may need a replacement crash bar. I think previous owner hit a pole, No chassis damage though which Im very glad.
Photos coming son... when i get home
pictures
took awhile uploading pics..
here are the underside of the engine
im happy to say that the engine is very clean :)
[img]http://i54.photobucket.com/albums/g92/naughtika/Pajero%20IO/20160322_113651_zpsw1znhls4.jpg[/img]
[img]http://i54.photobucket.com/albums/g92/naughtika/Pajero%20IO/20160322_113656_zpse27olxt4.jpg[/img]
[img]http://i54.photobucket.com/albums/g92/naughtika/Pajero%20IO/20160322_113647_zpsf8hwc9my.jpg[/img]
and the oil used for the service
[img]http://i54.photobucket.com/albums/g92/naughtika/Pajero%20IO/20160322_114100_zpsdaipdrwh.jpg[/img]
and test fitting th cop kit
[img]http://i54.photobucket.com/albums/g92/naughtika/Pajero%20IO/20160322_111713_zpsg0kwtgeb.jpg[/img]
[img]http://i54.photobucket.com/albums/g92/naughtika/Pajero%20IO/20160322_111708_zpse9qrgewz.jpg[/img]
I really need to trim the oe coil mounts and weld on some weld-nuts. was able to fit the coil on cylinder 1 showed that the height is just right as the coil was still bouncy due to the spring inside it touching the plug's center connector.
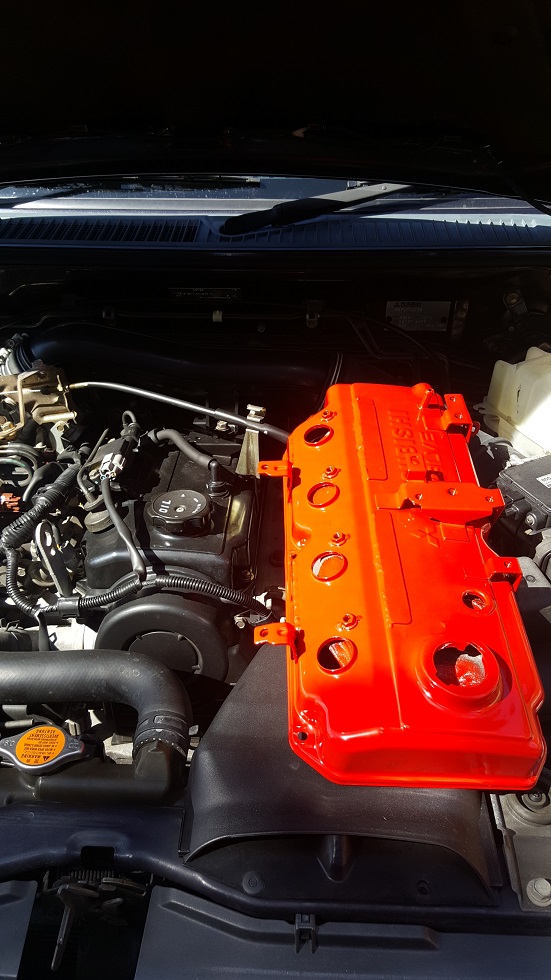
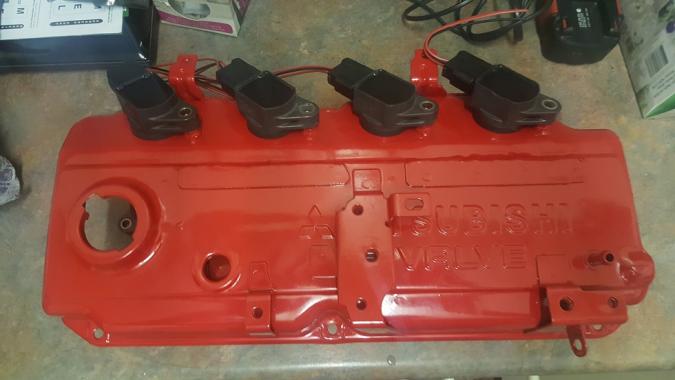
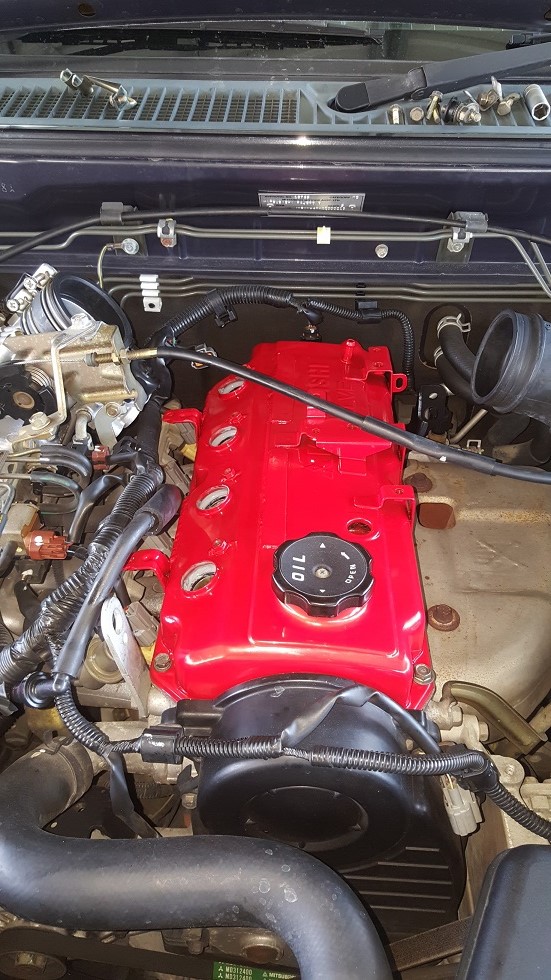
when I get back next month, I will properly mod the rocker cover and have it powder coated
modified rocker cover
Looking good...I will be watching the finished rocker cover.....
Happy io
hey Claude,
here's a quick pic of the modified rocker cover, it doesn't look pretty right now. Once cleaned up and powder coated in wrinkled red (Honda Type R engine color), I hope that it'll out nice and neat.
I've tacked welded flange nuts on the rocker cover so I can mount the coils properly, it worked well in my previous setup.

with some wire sleeving... not the finished product yet.

got few things done on the car as well.. Installed the Hood/Bonnet protector that I bought few months back and I replaced the rubber gear knob with a leather unit from a VR4 along with a Nardi Torino Steering wheel. both will be retrimmed eventually.
Rocker Cover and Steering Wheel
we'll see how it turns out.. I cant wait to have it powder coated, but since Im usually out of town I only have limited time at home, i may or may not have time to install it..
as for the steering wheel, it is from an 8G Galant VR4.. using Nardi Torino with airbag, it is straight fit (AFAIK) because I've seen my friend install it on his Pajero IO from the Philippines
just got the rocker cover
just got the rocker cover back from the powder coaters and will try and install the units tomorrow :)


got the following parts ready at home for the install
4x denso coils with finished harness
1x rocker cover gasket kit
4x spark plug gasket seal
1x evo 8 TB
will update this again tomorrow :)
Do you know whats needs to be
Do you know what needs to be modified to fit the evo 8 throttle body? a few weeks ago I had a quick glance at photos to try get an idea and it seems from pictures where the throttle cable 'hooks' on is in the wrong place and the tps and idle control sensor 'should' transfer over. Im assuming the evo throttle body is 60mm? any guidance would be much appreciated :)
I haven't fully sussed it out
I haven't fully sussed it out yet. But from my imagination, i may have to butcher the IO TB and use the wheel for the evo. TPS should be straight fit, may need to flip it 180° like what i did to the 4g93 SOHC. as for the ISC, should be straight forward
we'll see how it goes tomorrow


ran out of time
I haven't installed the EVO TB as I ran out of time yesterday.
may try and tinker with it today if I have enough time..
there's definitely change in pickup from mid to high rev range. I think this is due to the particular coil that Im using as it's meant for a high rpm engine.
I do remember that the EVO TB gave me really good pick up from low end to mid rev range as this was my initial issue with my lancer back then.

Good Results
Awsome well if you get the chance can you take plenty of pictures?
Always on the hunt for better fuel economy running extractors + muffler deleted exhaust with lift and bigger tyres + auto in my 2.0L 5dr.
Would assume these mods would compliment the exhaust stuff I have done, would love to hear your experiences after a few km's. Is it an Evo 8 throttle body you plan to use? Did you go 2nd hand or new or have a contact who got you onto it? Great to hear it worked well on the lancer.


Old lights
Hi let us know if you want to look at selling off your old lights if you don't want to keep them as spares...
Mine are FADED as and have tried all the products under the sun trying to restore them and then various others to add a layer of protection. Always back within a month or two.
repaint and buff
Hi let us know if you want to look at selling off your old lights if you don't want to keep them as spares...
Mine are FADED as and have tried all the products under the sun trying to restore them and then various others to add a layer of protection. Always back within a month or two.
best is to clean it up, sand it with 2000 grit sandpaper, then have it profesionally repainted with acrylic clear.. i think PPG will work best.. 2/3 layers should work then sand it down with 2000 grit again then buff the heck out of it
Be VERY careful with that approach...
best is to clean it up, sand it with 2000 grit sandpaper, then have it profesionally repainted with acrylic clear.. i think PPG will work best.. 2/3 layers should work then sand it down with 2000 grit again then buff the heck out of it
The problem wth the lights is UV and when you buff away the protective UV coating, the plastic discolors even more rapidly - I had my lights (on a different vehicle) professionally buffed when the vehicle was refinished, and when we tried repainting with a UV resistant clear coat (which I believe was PPG), it attacked and etched the plastic.

yes
Yes you are correct, it can happen, there is a special undercoat for this to properly bind to the plastic.....
Simmo, once you sand and polish for the first time, you actualy removing the thin layer of UV protection, this is why is become yellow a lot quicker after.
Happy io


retrofit
I would say....round....
Happy io
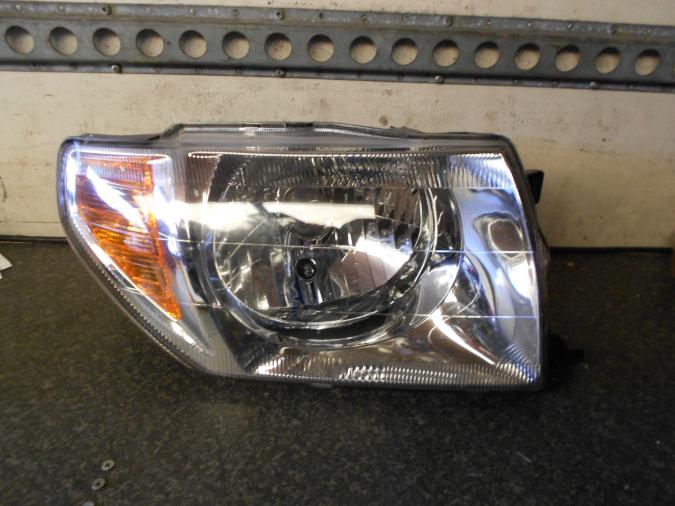
played around with the projector last month (while I was on RnR)
front - few scuff marks but no deep scratches and lens is still clear, not yellowish like what most plastic headlights in oz turn into

rear part, almost identical to the local released IO's. I will need to run separate wires to make these motors work

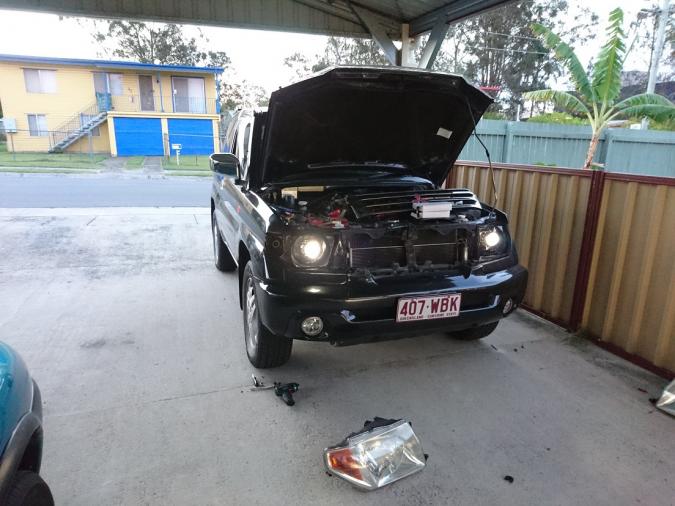
headlight goes into the oven for some bakin'

initial test fit...

and aligned. to be honest, im not happy with how the light output turned out. I'll be replacing the projector units with the D2S ones as they have sharper output and can take 55w HID's
tha's all for now. I should receive the Switchback Halos in 2 weeks time.
method
What's the magic headlight baking method?
*preheat oven at 140°C;
1. remove anything you can remove from it - dust covers, bulbs
2. remove 2x small screws on the back of the headlights
3. once oven is at right temp - put it in the oven without touchin any metal bits (add a carton ro raise the item
4. time it for 5-6 minutes and take it out and start pulling the lens cover away
*caution* sh1t will be hot, so use some sort of gloves to ensure you dont burn yourself
*disclaimer* i will not be held responsible for your mistakes or any mishap caused
above is just a quick reference on how to open the headlights.
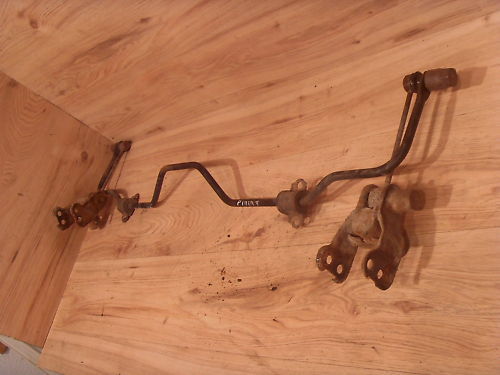

rear sway bar
ive got the identical part - also from germany -
I'll be welding on brackets when i refurb my rear axle later this year -
plan was some good 4140 20mm square tube or CroMo equivalent, drill and tap the side or weld captive nuts so the bracket bolts along the tube, then profile the other side to hug the curve of the axle tube and weld on. provides a low-profile free-draining mount.
Need to get long range tank and exhaust done first as rear-sway bar will potentially impact on sub tank
fuel economy
Hey Buddy, any more updates on fuel ecomony after installing the 4 coils and what about response on the throttle ?
Thinking about doing the conversion on my 1.8.
hey bud, sorry no updates on the COP kits on my car, simply because I dont get consistent drives with it.
i only get to drive it for around 200kms then it sits around for a month.
unless you want to try this.


recaro into io
There is a post i listed for the genuine io to recaro Njoy bases seat mount - melbourne ideal seat can get them in - well worth it.
I have just one in the drivers spot. awaiting me to repair passengers before I fit it.
you're welcome to come and look at my drivers one and copy/measure it
othwerwise idealseat need the actual recaro numbers to order - they cannot look them up.
recaro Item No left seat 1083.104.1
recaro Item No Right seat 1083.104.2
seat rails
There is a post i listed for the genuine io to recaro Njoy bases seat mount - melbourne ideal seat can get them in - well worth it.
I have just one in the drivers spot. awaiting me to repair passengers before I fit it.
you're welcome to come and look at my drivers one and copy/measure it
othwerwise idealseat need the actual recaro numbers to order - they cannot look them up.
recaro Item No left seat 1083.104.1
recaro Item No Right seat 1083.104.2
yeah, I emailed them with the above part numbers but said they can't get it.
Looks so clean :) Will follow
Looks so clean :)
Will follow the progresses, when are you back???
I live my life a 1/4 mile at the time